- Features
- Our Hometown Platform Overview
- iOS and Android Apps
- Social Media Autopost
- Audio Articles
- Customer Support
- Get Started
- Current Customers
- About Us
- Account
Google Docs Add-On “Publish to WordPress”
In our conversations with publishers, editors, and reporters over the last year, we discovered that Google Docs is now the leading word processing tool for local newspapers.
That’s why we developed the Google Docs Add-On for WordPress. This tool gives you full control of your article’s publish status on WordPress, without leaving the Google Doc.
Here’s how it works:
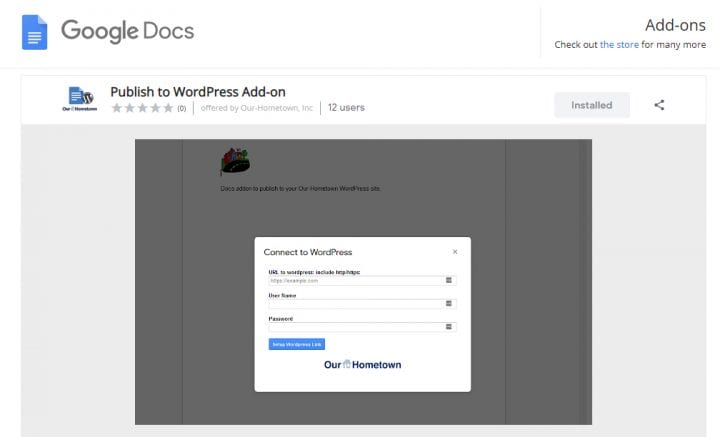
Step 1: Install the Google Docs Add-On here.
Use this link to visit the Google store and Install “Publish to WordPress Add-on”
Step 2: Open a Google Doc article
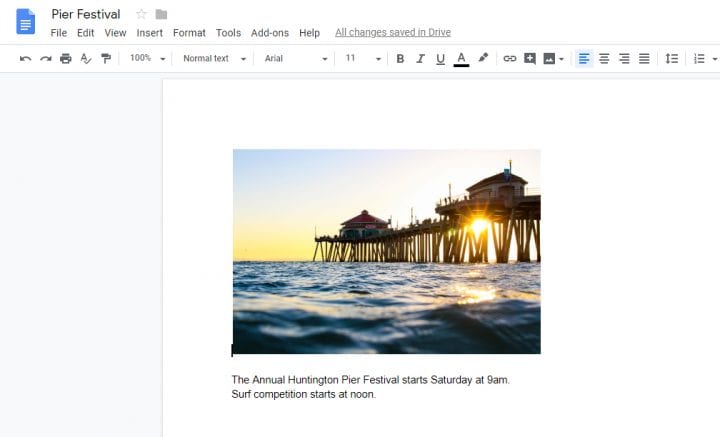
Next, open a Google Doc that has some text and at least one image on it.
NOTE: When adding images to the Doc, DO NOT copy and paste or Drag and drop them into the body.
Always use the option “Insert > Image > Upload from Computer” to place images in the body of the Doc.
Step 3: Connect to WordPress
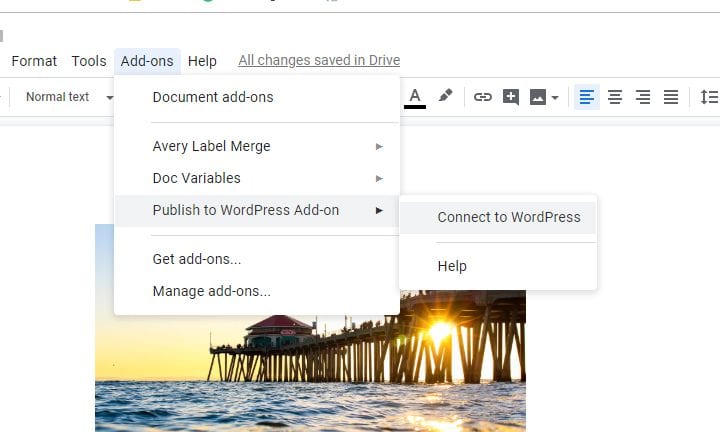
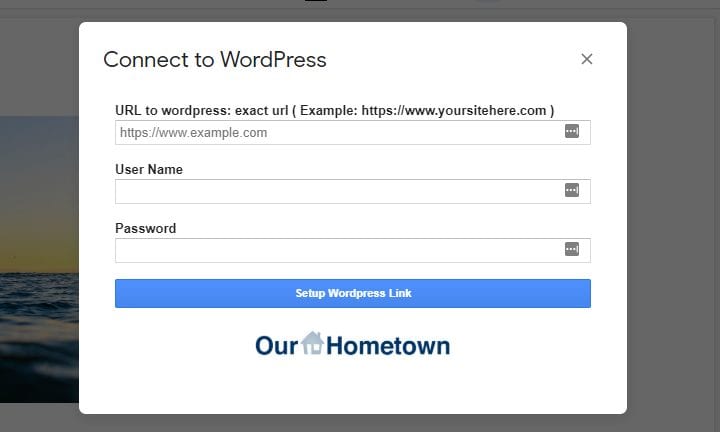
Go to Add-ons > Publish to WordPress Add-on > Connect to WordPress.
This will bring up a sign in field for you to enter your website, username and password.
NOTE: Always copy the URL of your current website into the top field EXACTLY. Your website URL will change when it goes from a prototype to the Live stage, so make sure to change the address to match. For example, before going live, your URL will be www.newspapername.demo.our-hometown.com. After going live, the URL will be www.newspapername.com.
You have to do this once for every new Google doc to authorize the connection. If the authentication worked, you will see the message “Connection Successful”.
*NOTE: If you see the following notification when you try to login with your website credentials, please contact ops@our-hometown.com:
“There was an error connecting. Please check your URL and try again. If you are not a customer with Our-Hometown, please visit: https://our-hometown.com/google-docs-to-wordpress-feed/ for more info on signing up”
Step 4: Select Publish Settings
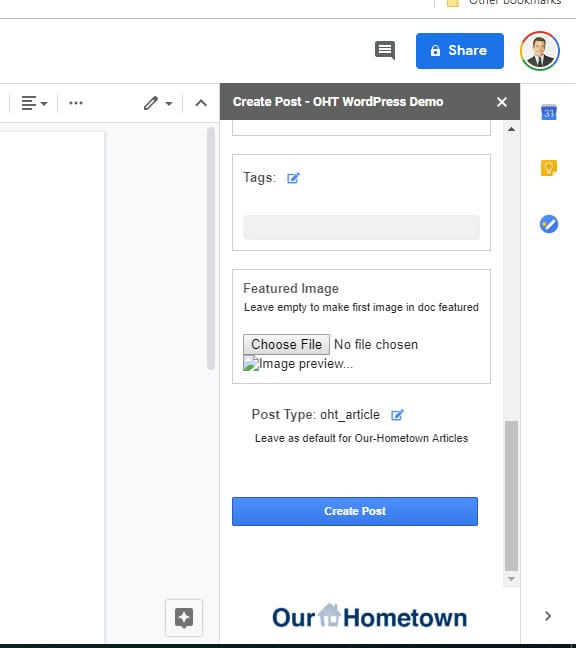
Once connected, the publishing sidebar will appear on the right.
From there, you can control all the same publishing settings you have access to in WordPress.
Schedule articles to go live, Select a Category, mark as Breaking News, and update the article with changes.

Step 5: Publish to WordPress
At the bottom of the right sidebar, select “Create Post” to publish to WordPress.
