Step 1.
Login to your website via the "login" button.
Navigate to "Content > Upload PDF edition" via the "Site Settings" menu.
If also use Special Sections, click here to see how to upload your Special Section PDFs.

Step 2.
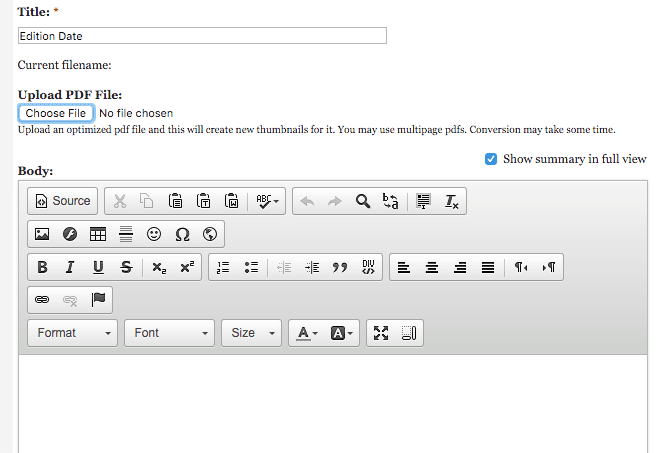
In the "Upload PDF edition" section, first, add a title ("Edition Date").
This title CANNOT contain any spaces.
For example:
OK:
- 12-15-16
Not OK:
- December 15, 2016
Step 3.
Click the "choose file" button & select your PDF for upload.
Step 4.
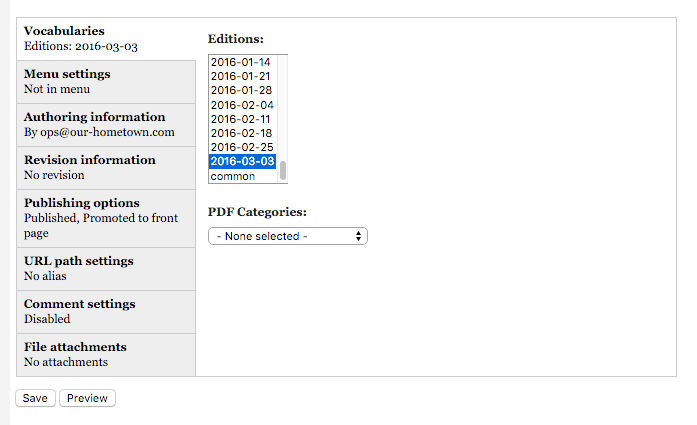
Select the correct edition in the "vocabularies" tab.
Click "save".
Note: This import may take some time to process.
Leave the window open, as the page will behave like it is loading a new page. Once it completes "loading", it should display the PDF file in your browser's PDF viewer.
You can also check the upload status by refreshing the homepage in another tab, where there will be a green message saying "PDF has been saved" once the upload is completed.
Your eEdition PDF will now appear at the following URL (the date portion is the edition date):
[yourwebsite.com]/news/[yyyy-mm-dd]/PDF
Step 5. (optional)
If you're still not seeing your PDF on your website, you may need to flush your cache to get it to appear.
To do this, navigate to "Layout > Flush Caches" from the site settings menu.
Click "flush caches" and then refresh your site. All changes should now be visible.