Reverse publishing at the basic level is the process of creating and managing all of your content directly on your website, including articles, blogs, galleries, advertising, e-editions and so forth. Any of this content can then be exported as needed for use in a page layout application, such as Adobe InDesign. This method uses common XML to structure and tag your content simplifying the import process.
From your website’s dashboard look for Reverse Publishing in the menu list on the left. As you hover your mouse a submenu will appear, then click on Reverse Publishing.
Here is where your website’s article content can be exported for a particular edition and filtered by category.
Select the edition date and either all categories or you can select a single category for export.
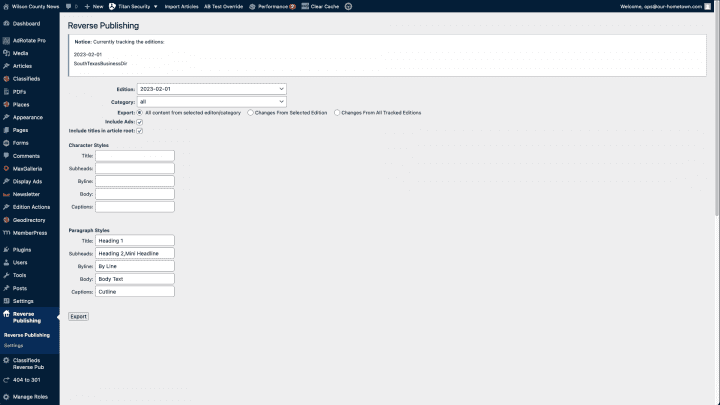
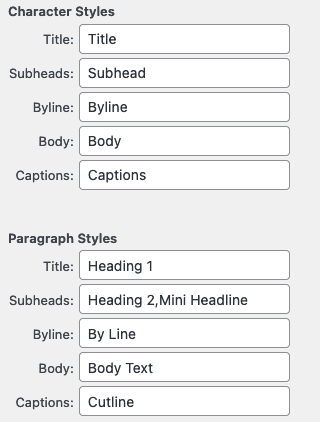
As a quick aside, you will want to input character and paragraph style names in the fields provided. These styles will be imported into InDesign with the XML data. Note IF the styles provided to the Reverse Publishing plugin are identical to those in your InDesign template, they will be mapped automatically on import. If the styles do not match, the styles from the XML file will be added with default settings. You will then need to specify style options manually, such as fonts, spacing, indentation etc.
Once you have made your selections, click on the Export button.
This will prompt you to save a zip file to your computer.
Click OK.
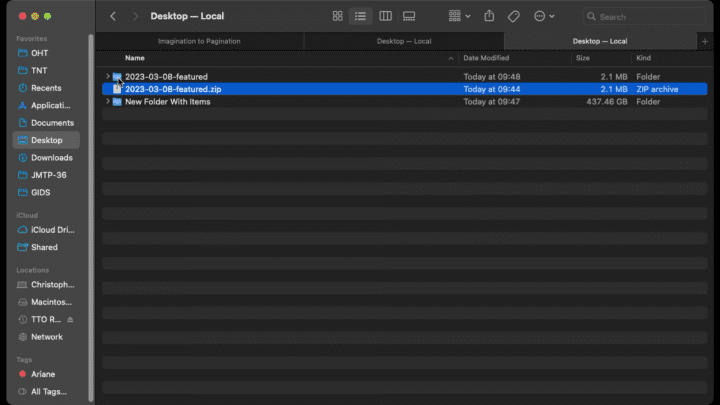
The plugin will compile a ZIP archive including the XML file with all the article content and individual images associated with each story.
Extract this zip file and we are now ready for import into InDesign.
We’ll first walk through the import process with a blank document and then discuss how to set up a template for future use.
Create a new blank document in InDesign. If you have page dimensions, they should be set at this step.
Go to the File menu and click Import XML.
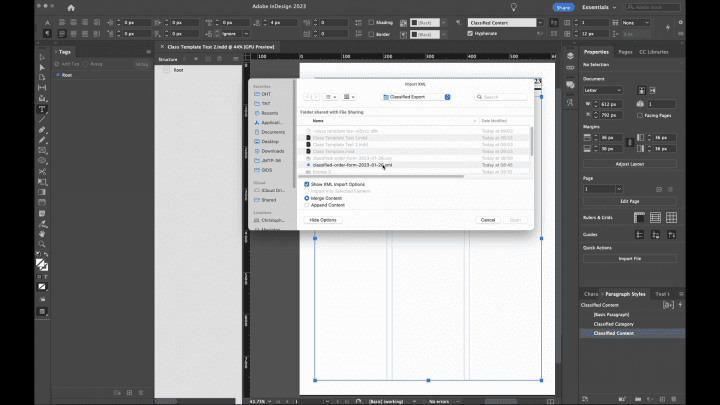
Select the XML file in the folder extracted from the zip file download.
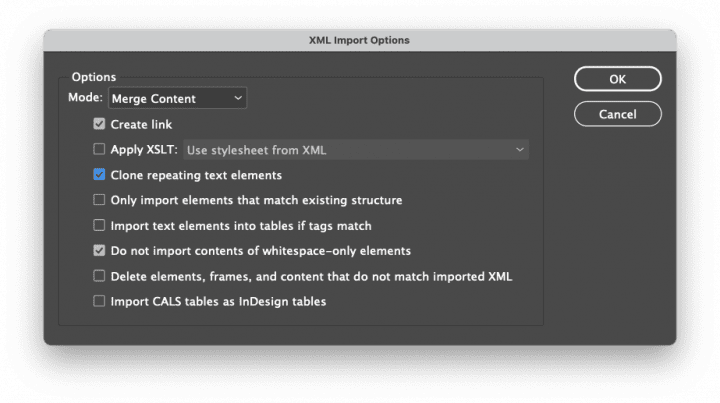
Make sure the Show XML Import Options button is ticked as well as Merge Content.
On the import options window leave the defaults, however the Create link option is very useful in that if you export updated content from your website and re-import the XML into InDesign, all your content will update automatically.
Once the XML is imported the Structure pane will appear to the left of your document containing the Root tag. Click the small arrow to the left of the tag to reveal the contents of the XML import.
Each story element contains the others: title, byline, body, image et al. plus any tag attributes, particularly character and text styles.
Notice that these styles have been imported along with the XML elements and are now appearing in the styles panels, although each simply contains the InDesign defaults.
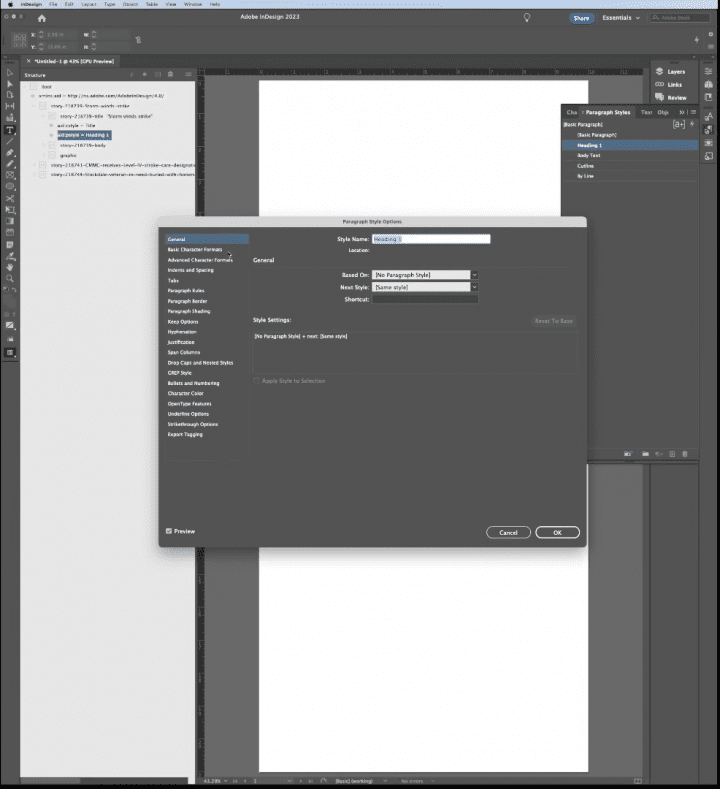
Before bringing in any story content, lets establish the looks of our different tags by setting the font, size, and any indentation or spacing options for each. With these styles set we can now begin importing content.
Click and drag a story onto the blank page. By default this will place all the story elements into a single text frame, including the title, byline, body and images.
The images will import at their original sizes which will often be hidden in longer stories as they may fall outside of the text frame, but we will address this shortly.
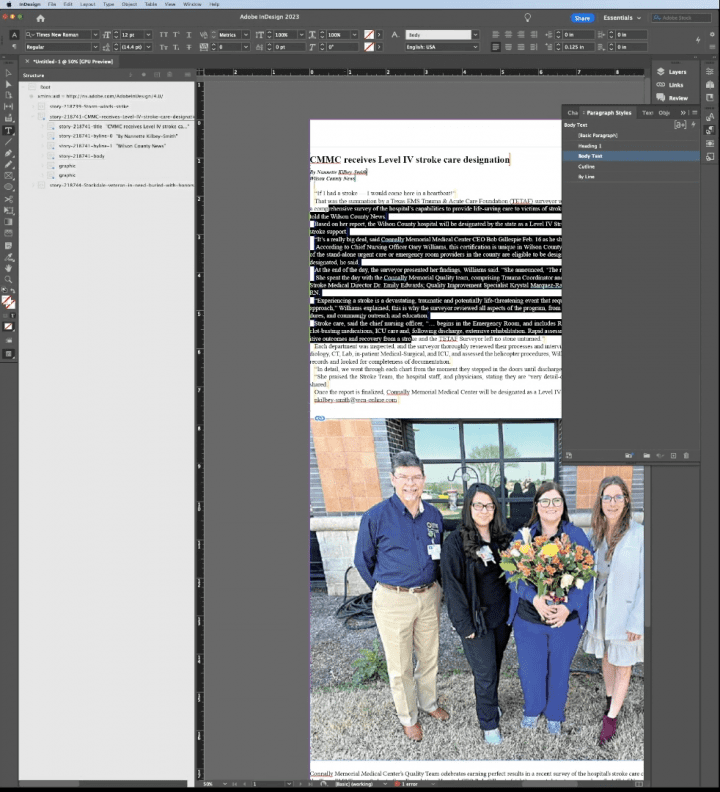
In this case the image is visible and we will need to manually scale and position it as well as any caption.
To address this we will create a new empty graphic frame of the size desired in the final layout, along with a text field to hold the caption. We will also group these two frames so that we can set the text wrapping for the full graphic.
Even though the graphics have already been imported into the main story frame, you can still drag the individual nested tags into the layout, as InDesign will remove the element from its initial placement and re-insert it into the new target.
So click on the arrow next to the story tag, and then the graphic tag to reveal the image and caption. Drag the image tag into the empty graphic frame and the caption tag into the text frame respectively. Right-click or control-click on the image to set its fitting options and adjust the size of the caption frame so that no text is cut off. You can now drag the grouped image/caption into its final position in your layout and also adjust the text wrapping settings for the entire group.
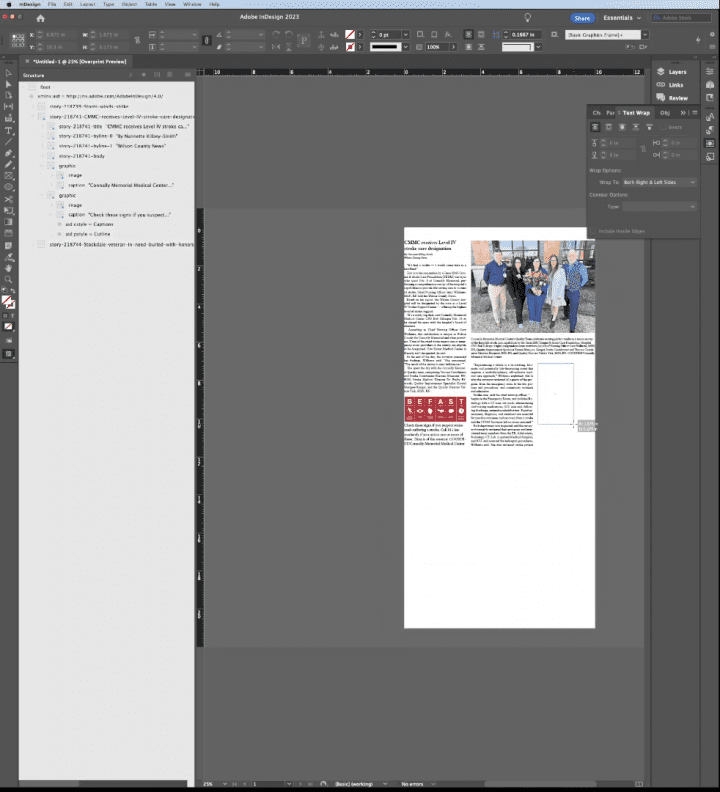
Repeat this graphic frame / caption frame combination method to place any remaining images in the story.
This is the basic process for placing an article from the imported XML into your InDesign document.
To create a template from the settings we have established – in particular the now-matching paragraph and character styles, you can go to the structure pane and select the root tag, then click on the trash can at the top of the panel. This will remove the imported content but not any created content frames. Click in the document and select all then delete these frames.
At this point you can save this file as an InDesign template which can be used again (as long as the paragraph and character styles remain unchanged on the Reverse Publishing plugin.
Please reach out to us at ops@our-hometown.com with any questions about reverse publishing on your website!
