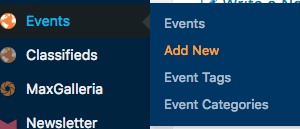
The events calendar runs off the same system as the business directory and pickup locations directory, so it should look familiar if you use either of those systems. Adding an event has a few additional, event-related options to enter when creating a new event.
Select “Add New” from the backend dashboard menu, under “Events”.
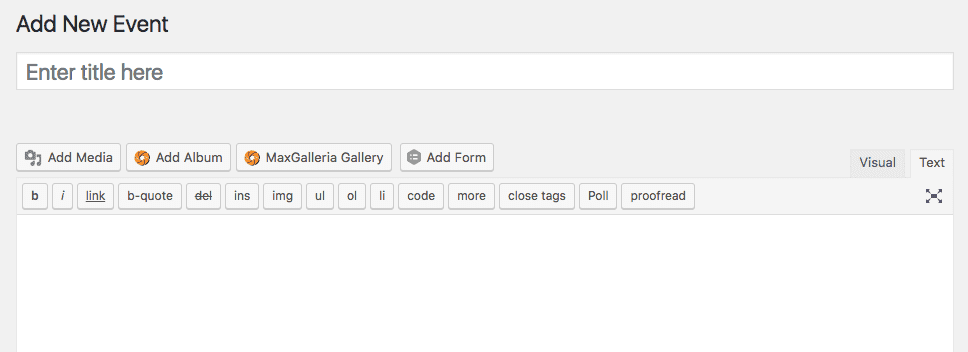
Enter your event title & description.
Under “Event Schedule”, fill in the timing of your event.
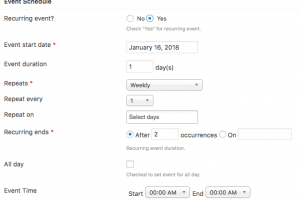 A “recurring” event will continue to occur on the calendar as many times as you set it to. If you select “yes”, you’ll fill in additional information, such as the 1st occurrence of your event. Under “repeats” select at what interval this event repeats. When it does, you’ll have additional boxes to fill in, based on when your event occurs and how often, as well as the event time.
For non-recurring events, simply fill in the start and end date, select “All Day” if you don’t have an exact time or the event runs all day, or add your start and end times.
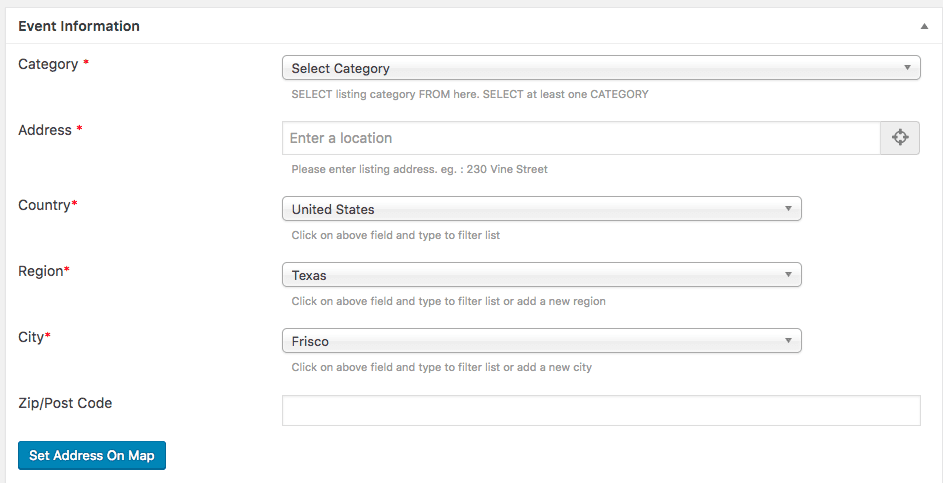
In the event information box, select the category or categories of your event, enter a location and then hit the “set address on map” button to place your map pin in the accurate location. This will automatically fill in the latitude & longitude of your location.
If you don’t have any additional information to fill in, you can hit the “publish” button on the right side of the page.
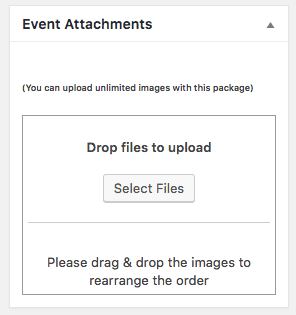
If you have additional information or images, you have the option to add these as well. If you are not done working on your event, you can save your progress by hitting the “save draft” button on the right.
If you’d like to fill in any contact information for the event, you can fill in the phone number, email website or social media links.
If you have related images for the event, you can upload them in the “Event Attachments” box. The 1st image in this box will be the image shown as the featured image for your event. If you upload more than one picture, a slider will be created at the top of your event listing.
Adding Featured Events
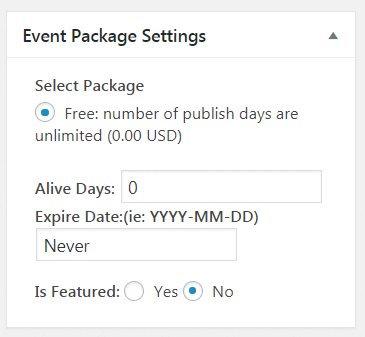 If you offer “Featured Events” as a benefit to customers who wish to pay to display their event more prominently, you can mark the event as “Featured” in the top right corner of the “Edit Event” page, under Event Package Settings.
Once marked as a Featured Event, you can set up an Event Widget anywhere on your website and filter it to display only events that are featured. You can also update any existing list of events and update the settings to display Featured Events first, before free events.
Note: Keep in mind that payment for these events would be collected via the Event Submission form or outside of the system entirely. The Package Settings box may indicate that the event package is “Free”, but that just means that no payment is collected through GeoDirectory itself — because it has already been collected on the event submission form. You can effectively ignore this.
