One important thing you can do to help improve the look of your website is to create a “default image” that can be attached to articles that otherwise do not contain any graphics or images. This way, instead of an empty gray box, or no image at all, you can show a branded image with your publication’s logo.
This is also important for sharing your stories on social media to ensure that your article preview appears crisp and professional.
Creating A Default Image
You can be as creative as you want to be with your default image. A good place to start is a simple document with a light gray or white background featuring your logo in the middle. Facebook recommends using a 1200 x 630 pixel document.
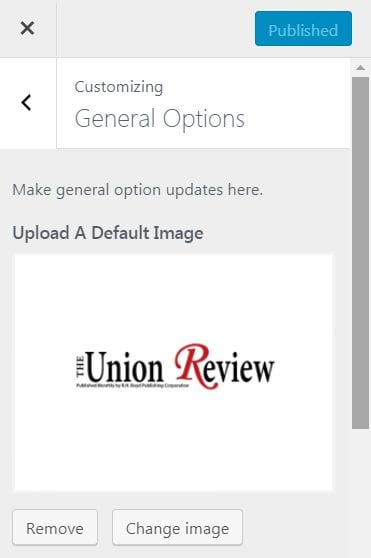
Be sure to leave ample white space around your logo like in the scaled-down example below:
Setting your Default Image for Articles
Setting the default image for articles is very easy.
- Navigate to your homepage while logged in with your admin account.
- Click the “Customize” button on the admin menu across the top of the page.
- When the Customizer loads, click the “General Options” tab
- Under Upload a Default Image, click “Select Image” and select a graphic from your media library, or upload a new one from your computer.
Once you’ve completed this, any article without an image will automatically use this default image as a preview image anywhere that one is required. This includes article sliders and widgets on your homepage, category pages, and anywhere else that the featured image would normally be shown.
Setting your Default Image for Social Media Sharing
Despite setting the default articles image above, there are instances where articles being shared to social media do not include the newly set default image.
To prevent this, we’ll want to set up a default image to be used specifically for social media sharing. We can do this using the All in One SEO Plugin included with your website.
- Login to your WordPress Dashboard with your admin account.
- Navigate to the All in One SEO plugin tab
- Select Social Meta from the sub-menu
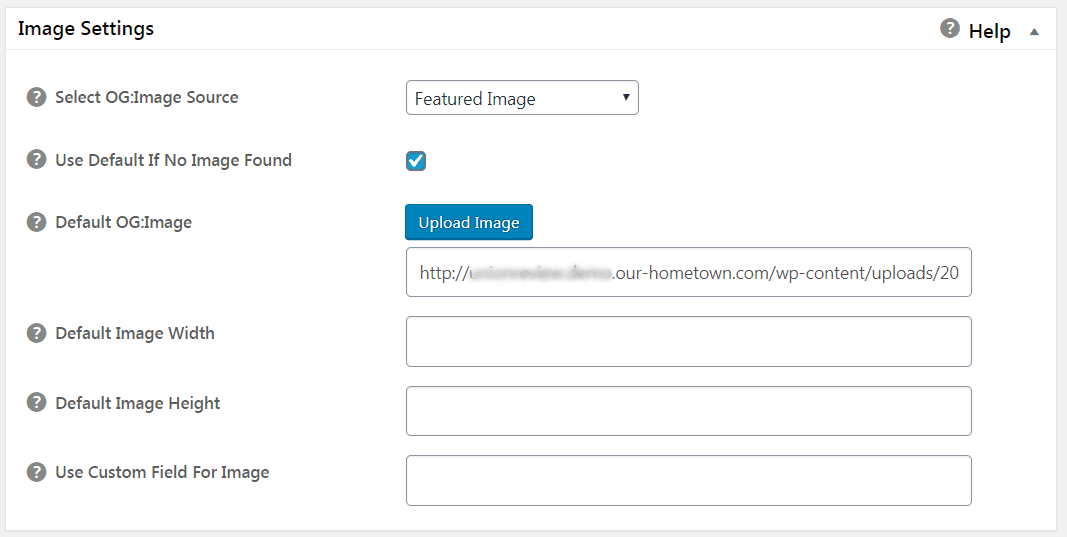
There are two sections here you’ll want to pay attention to: Home Page Settings and Image Settings.
Home Page Settings helps determine how the preview will appear on social media when someone is sharing your homepage rather than a specific article. This could be the same image as your default article image, or you could create a different one specifically for your homepage. Whichever route you take, click Upload Image next to the Home Image field and select your default image.
The Image Settings section relates more to sharing specific articles.
- Make sure the OG:Image Source is set to “Featured Image” — this tells Facebook to look for the featured image attached this article for sharing.
- Make sure the checkbox below is marked for Use Default Image if No Image Found. This tells Facebook to use the default image (set below) when it cannot find a proper “Featured Image”
- Next to Default OG:Image, click Upload Image and once again select the Default Article Image you have created.
Once you save these settings, you should be all set to share your articles on social media.
A great resource to use anytime you’re making adjustments to the default social media image is Facebook’s Sharing Debugger Tool. Using this tool, you can enter the URL for any article on your website to generate a preview. If the article has ever been shared on Facebook before, you can see what the current preview looks like. Once you’ve made changes to your default image and uploaded the new one to your website, click “Scrape Again” to get Facebook to recognize the new image. Read more about this tool here!


