Reverse Publishing: Import Your Content Into InDesign
|
Click play to LISTEN to the article below
|
XML Export
Once you have applied your desired settings for the Reverse Publishing export, you can then choose what content is to be included, either via the Export page or through selecting and exporting articles with the Bulk Edit option in the All Articles List.
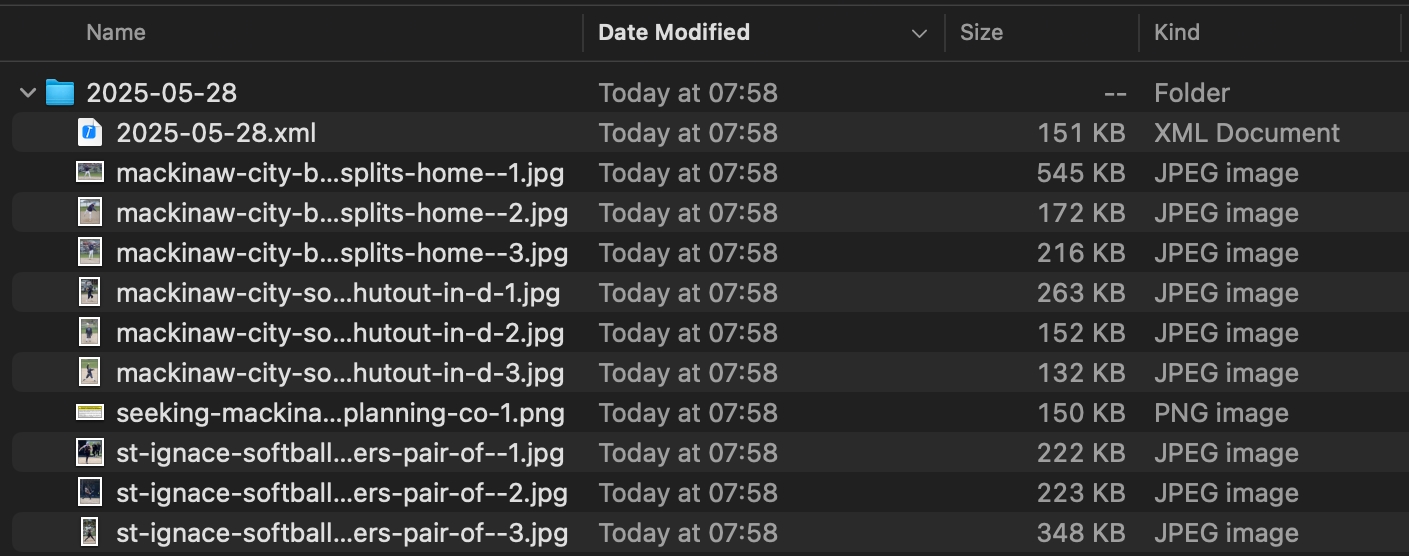
The plugin will compile a ZIP archive including the XML file with all the article content and individual images associated with each story that is then downloaded to your computer.
Extract this zip file and we are now ready for import into InDesign.
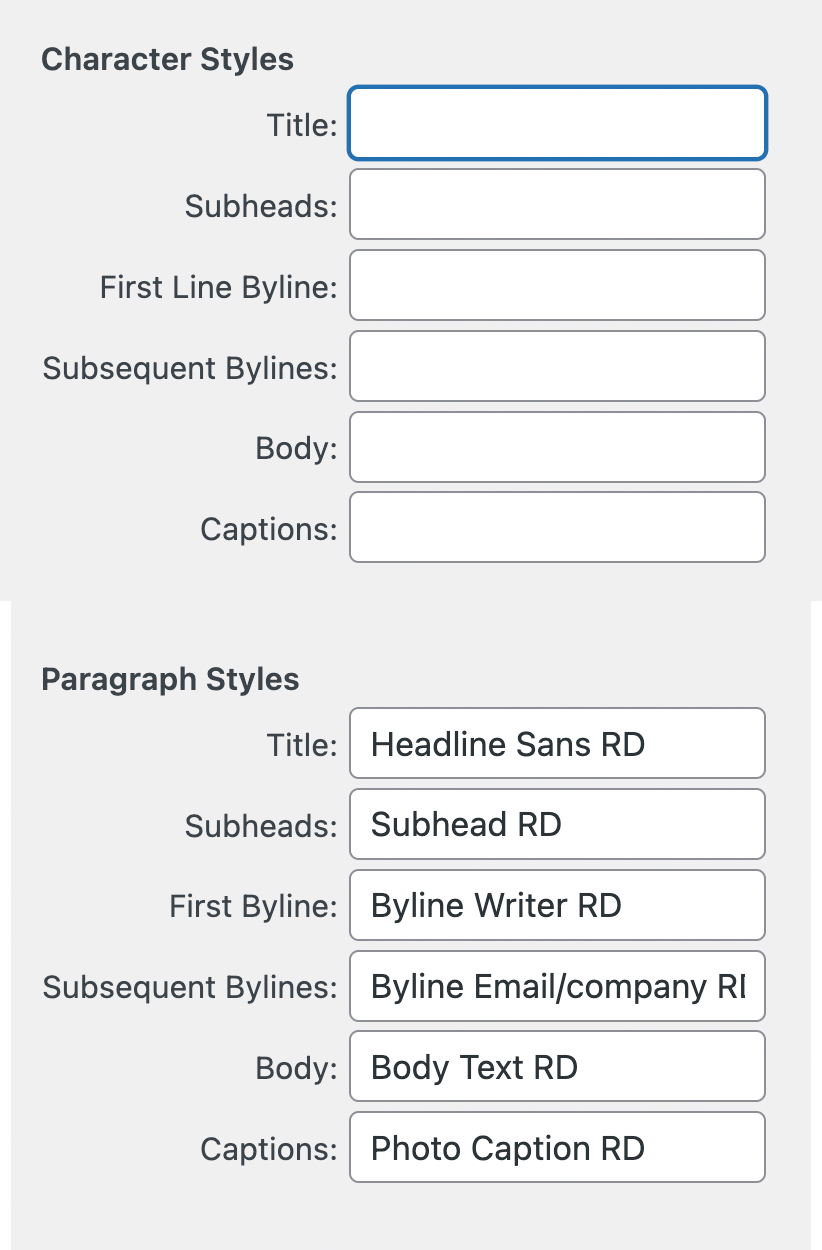
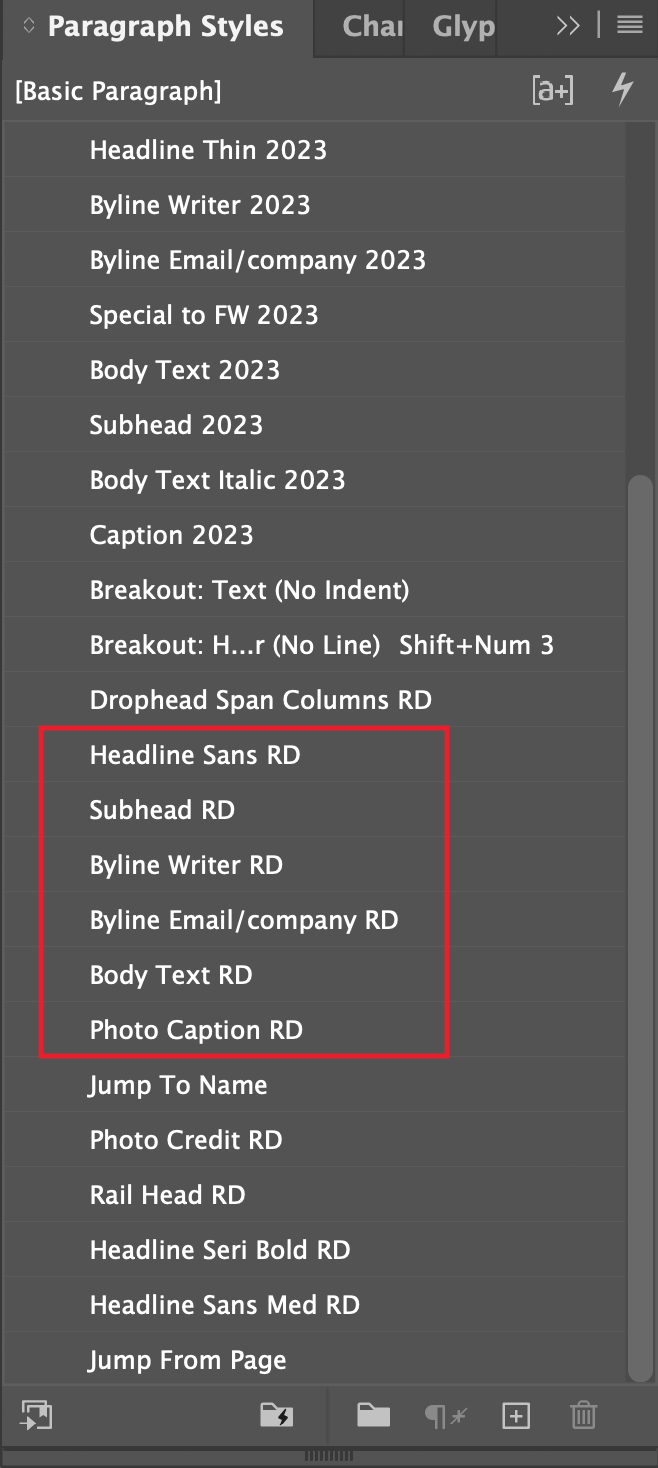
For this demo we’ll use an existing InDesign template with paragraph styles and basic layout guides in place. Note the styles specified in the export settings match those in the InDesign file, so they will be automatically applied when you add content into the document itself.
XML Import
With the InDesign file open, go to the File menu and click Import XML.
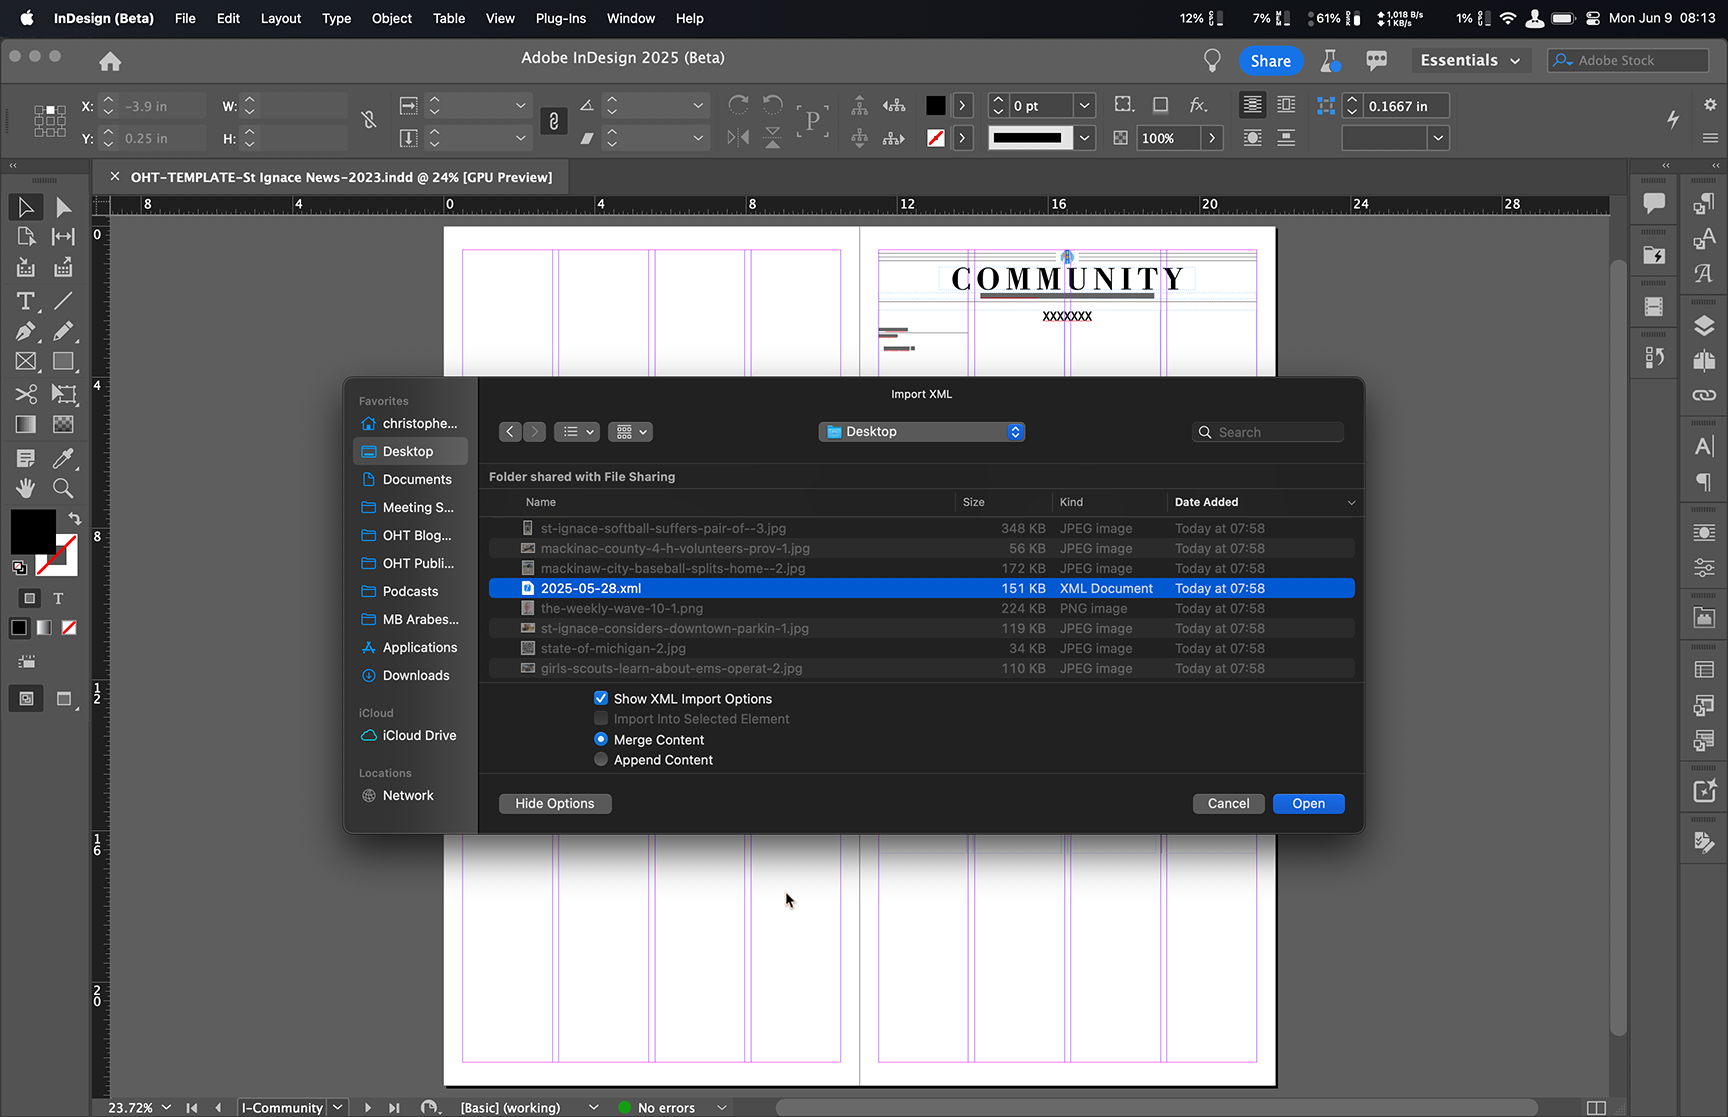
Select the XML file in the folder extracted from the zip file download.
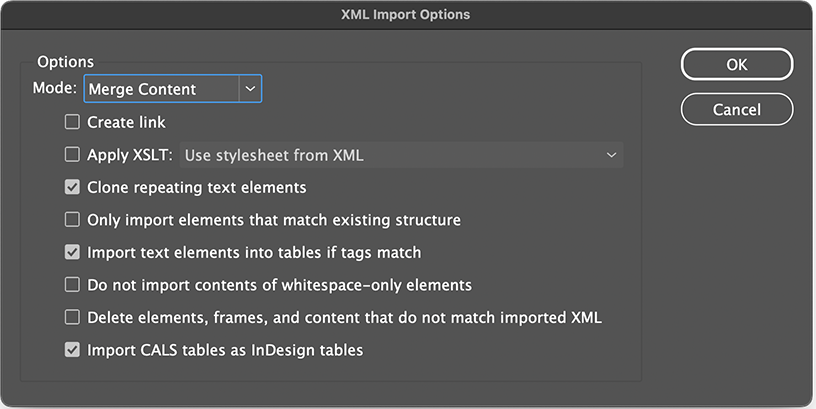
Make sure the Show XML Import Options button is ticked as well as Merge Content.
On the import options window leave the defaults. Merging content will make sure that any updated XML content will be automatically reflected in the imported elements.
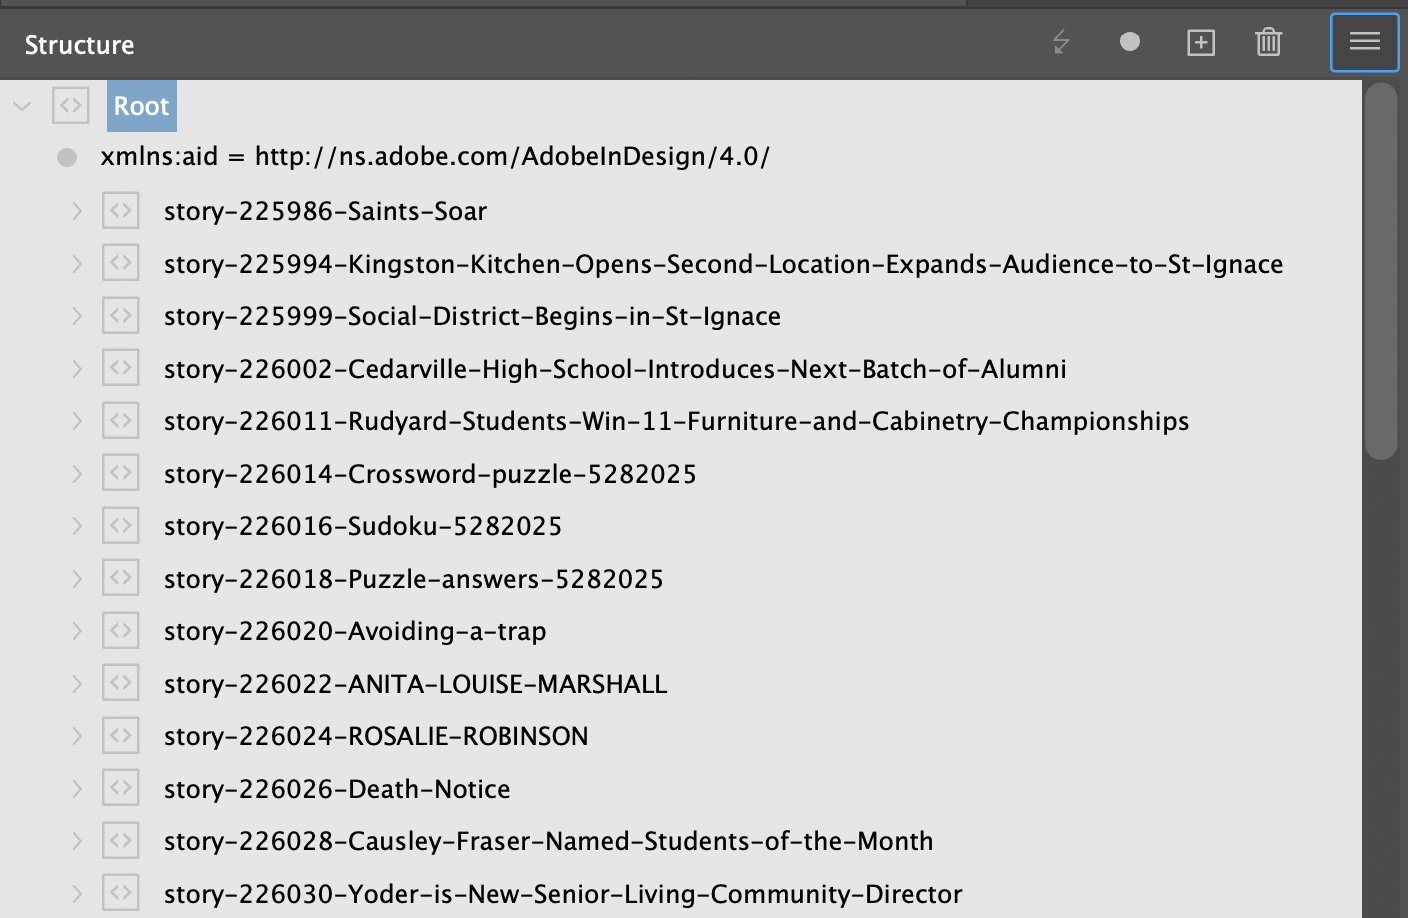
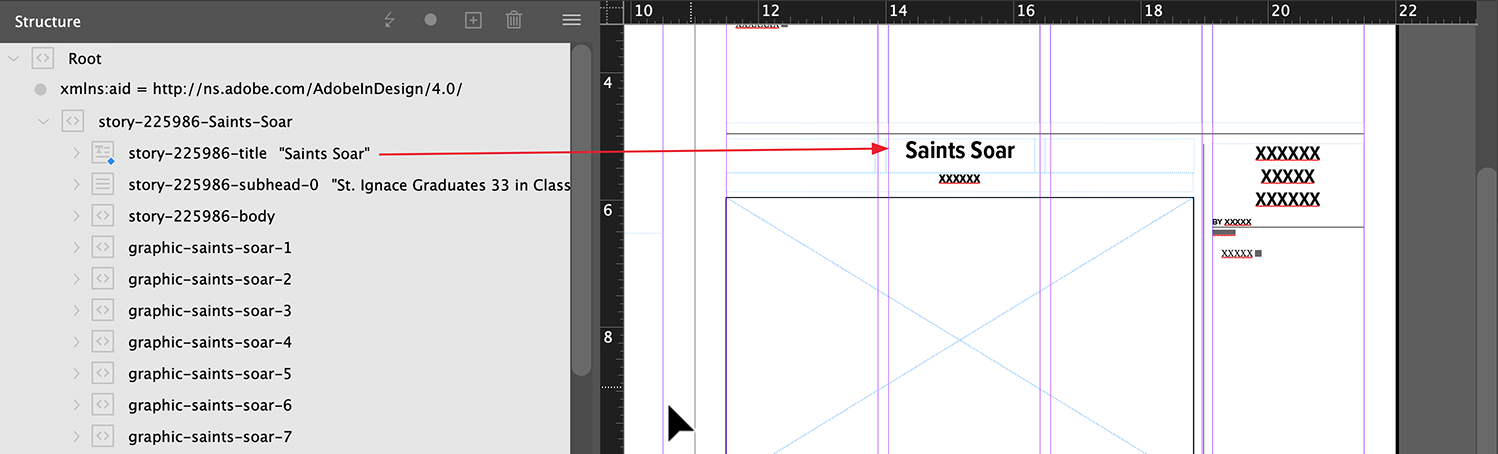
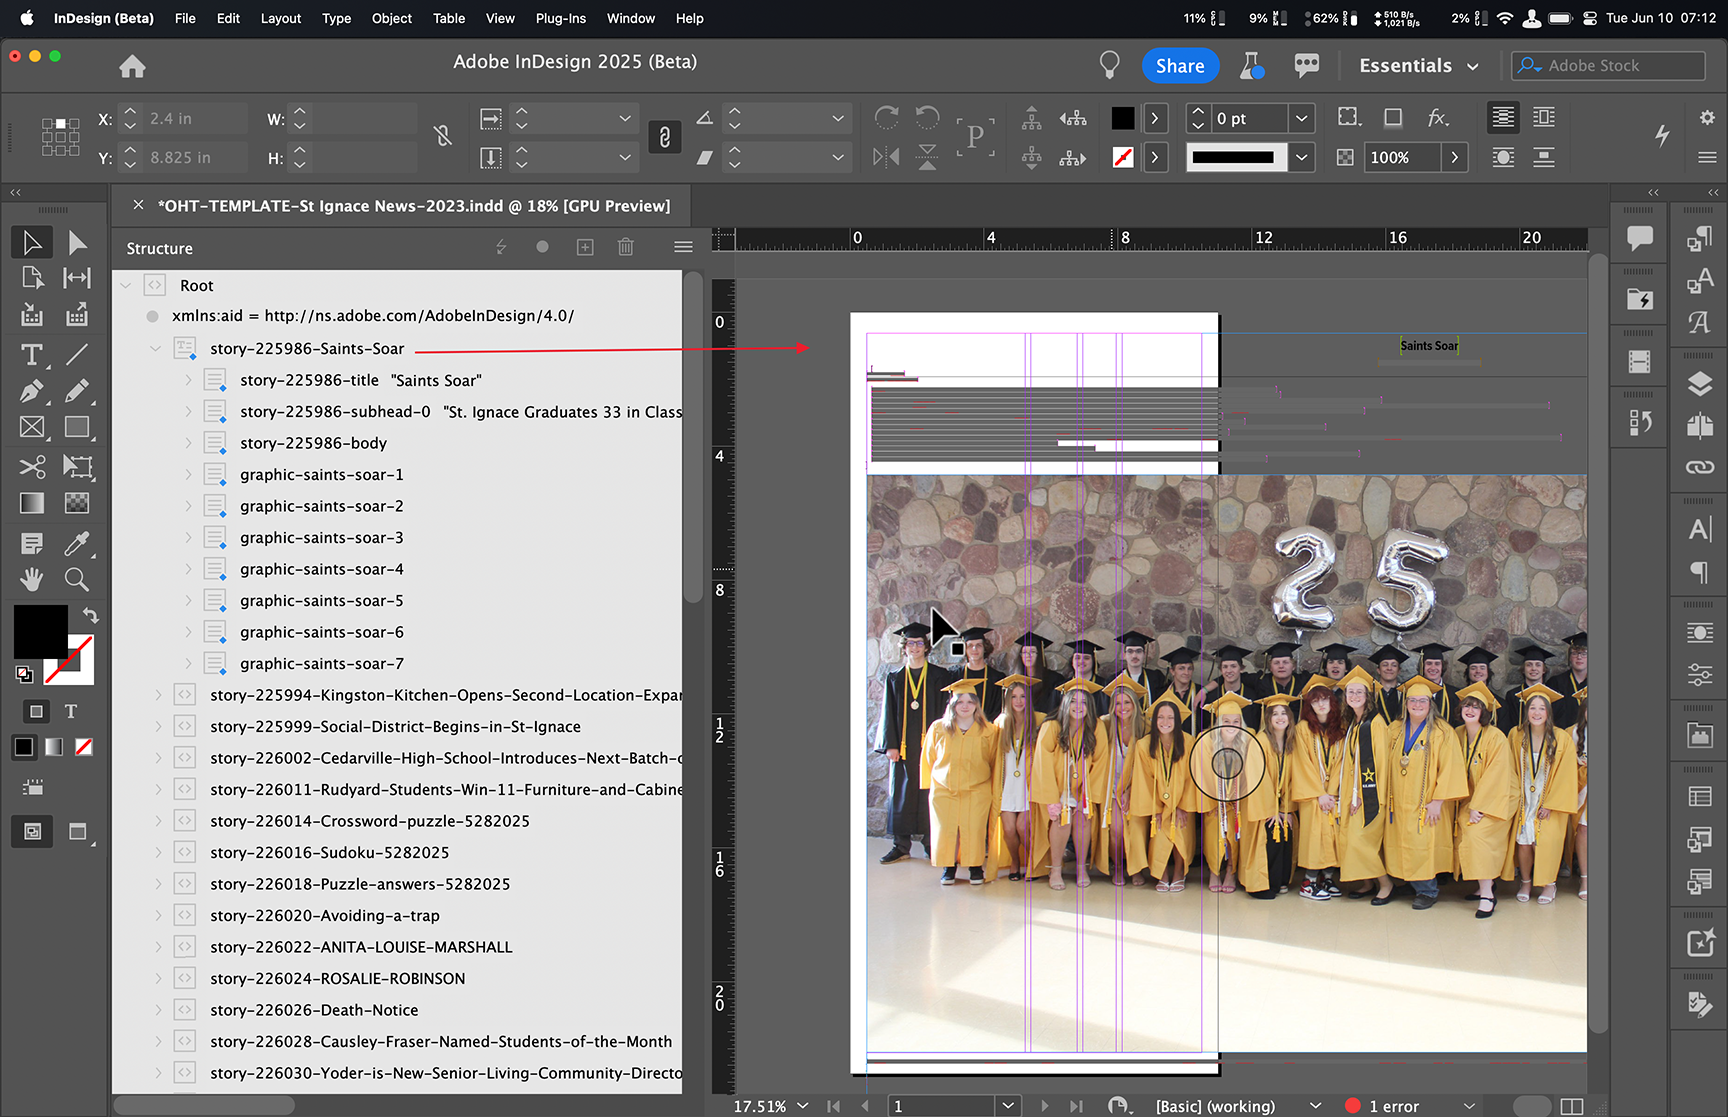
Once the XML is imported the Structure pane will appear to the left of your document containing the Root tag. Click the small arrow to the left of the tag to reveal the contents of the XML import.
Each story element contains the others: title, byline, body, image et al. plus any tag attributes, including character and paragraph styles.
Note that the character and paragraph styles included in the export will be created if these styles are not present in the InDesign file when you import the XML. However these styles will need to be configured as they will only have default settings in this scenario.
Structure Panel
Once the XML is imported the Structure pane will appear to the left of your document containing the Root tag. Click the small arrow to the left of the tag to reveal the contents of the XML import.
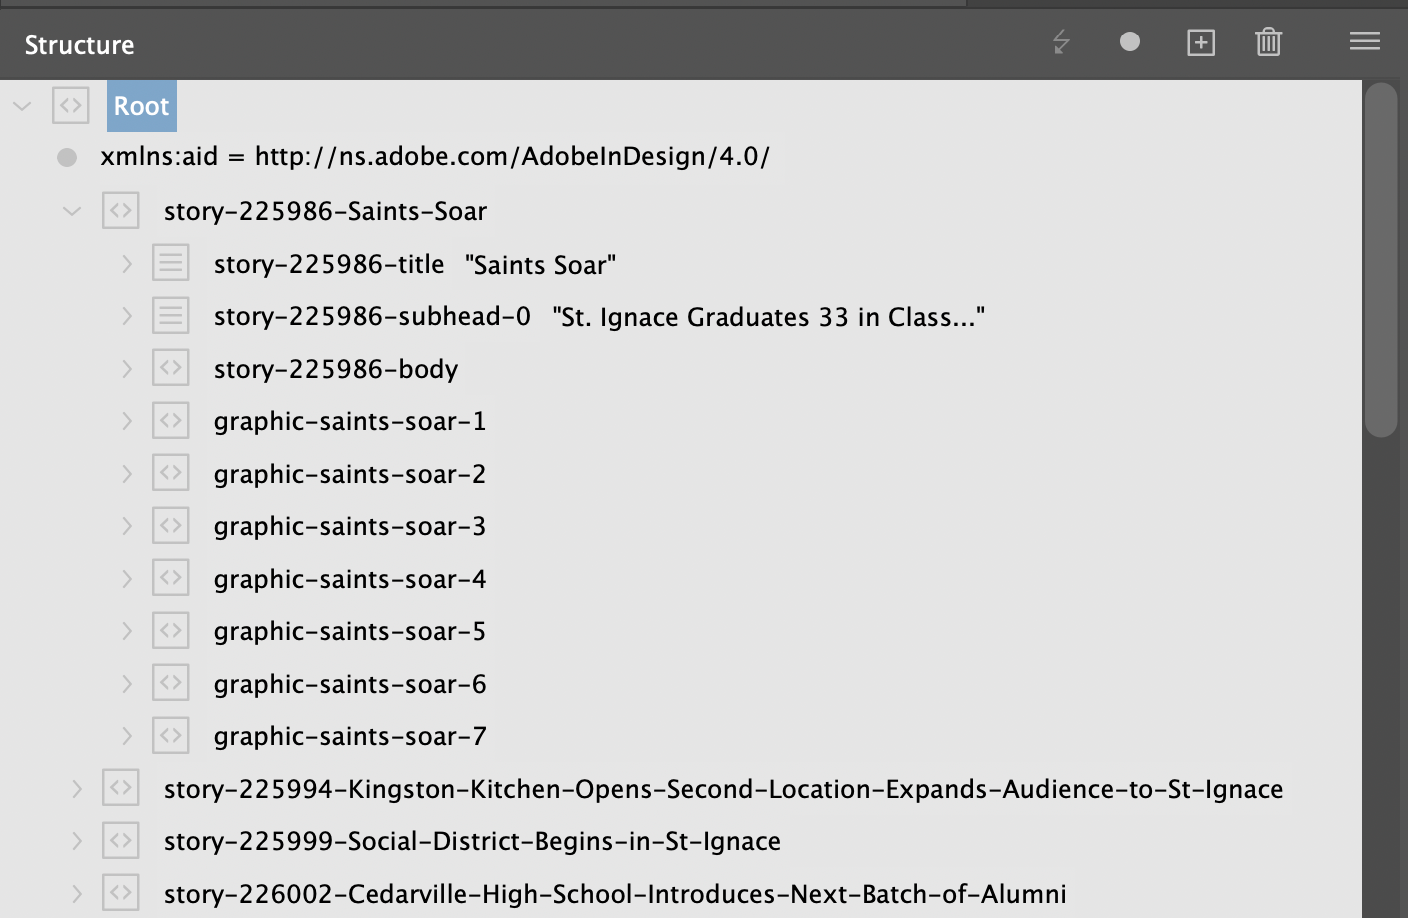

Each element or tag (we are using the term interchangeably) has an icon next to it indicating the type of content it references:
Container Element: A wrapper for grouping other element-types together
Text Element: A wrapper for text copy, i.e. paragraph tags similar to html
Image Element: A reference to the local image file downloaded as part of the XML export which links back to the folder extracted from the ZIP archive.
Drag and Drop Behavior
To bring content from the structure pane into the document layout, you simply drag the element either onto the layout itself or into a pre-existing frame in the layout.
Once an element has been placed in the layout a blue dot appears at the bottom-right of the icon.
Text Elements
For instance if you template already has a frame set up for the positioning of the Title element, simply drag that element from the structure pane onto that frame. If styles are setup properly, the Title style will be applied automatically.
If you don’t drop a text element into an existing frame, InDesign will create one, however the size of the text frame will usually follow the width of the dragged element, but its height will simply fill to the bottom margin from the spot of the drop.
Image Elements
Image elements, when dropped into a pre-existing frame will honor that frame’s fitting options, so this can be extremely helpful when placing images within your layout. If you simply drop an image element onto the layout, InDesign will create a frame matching the original resolution of the image (which can be quite large at screen preview levels). If the image is dropped within the page margins, the resulting frame will respect those while cropping those portions of the image. For predictable behavior we recommend dropping images into pre-existing frames with fitting already specified.
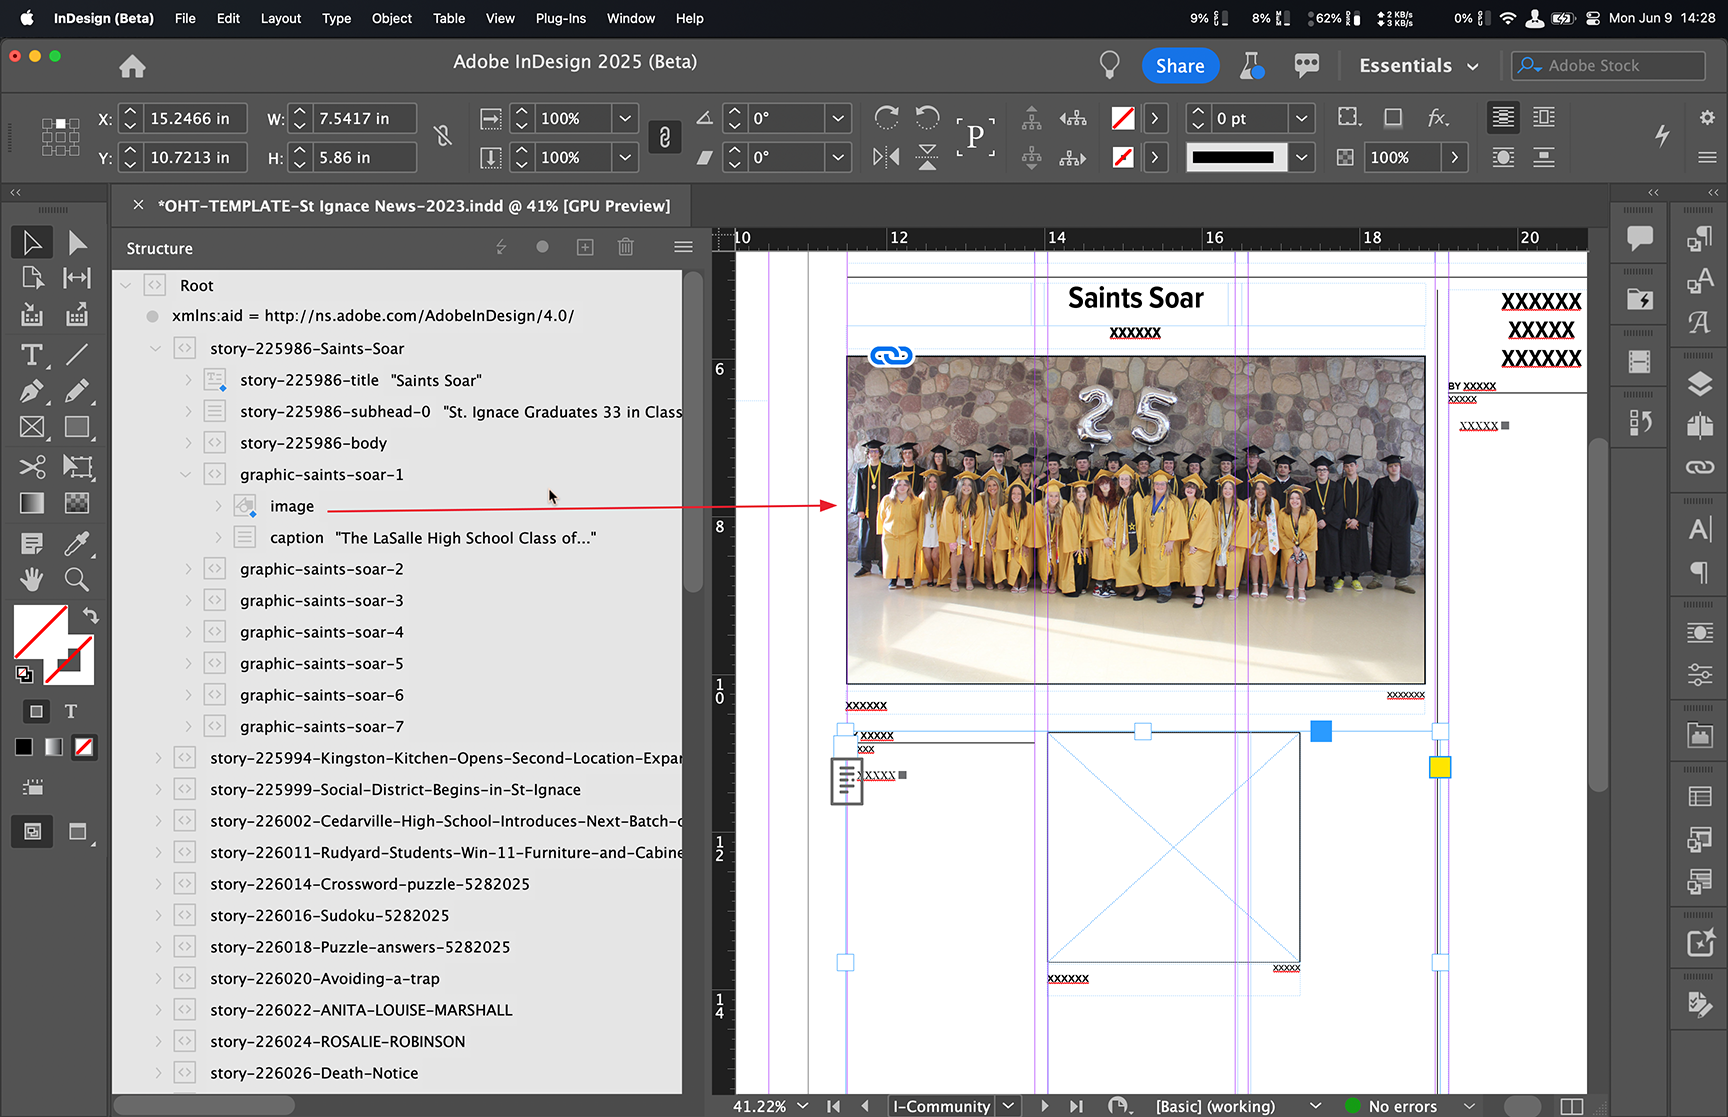
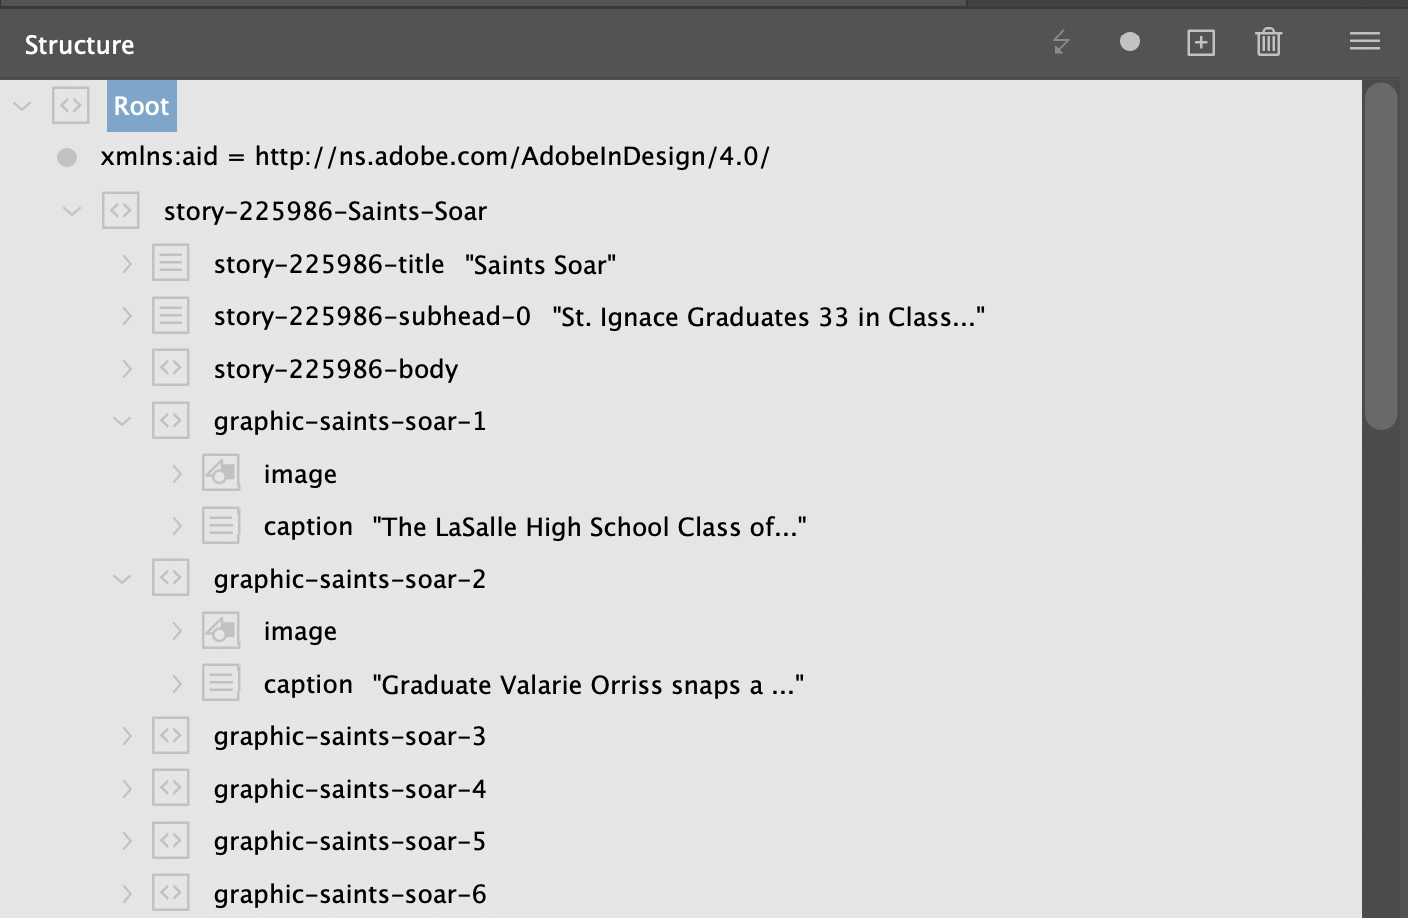
You will note the above example shows the Image element itself being placed, not the Graphic element. The Graphic element is a container for the image element and if present a text element for the Caption.
Container Elements
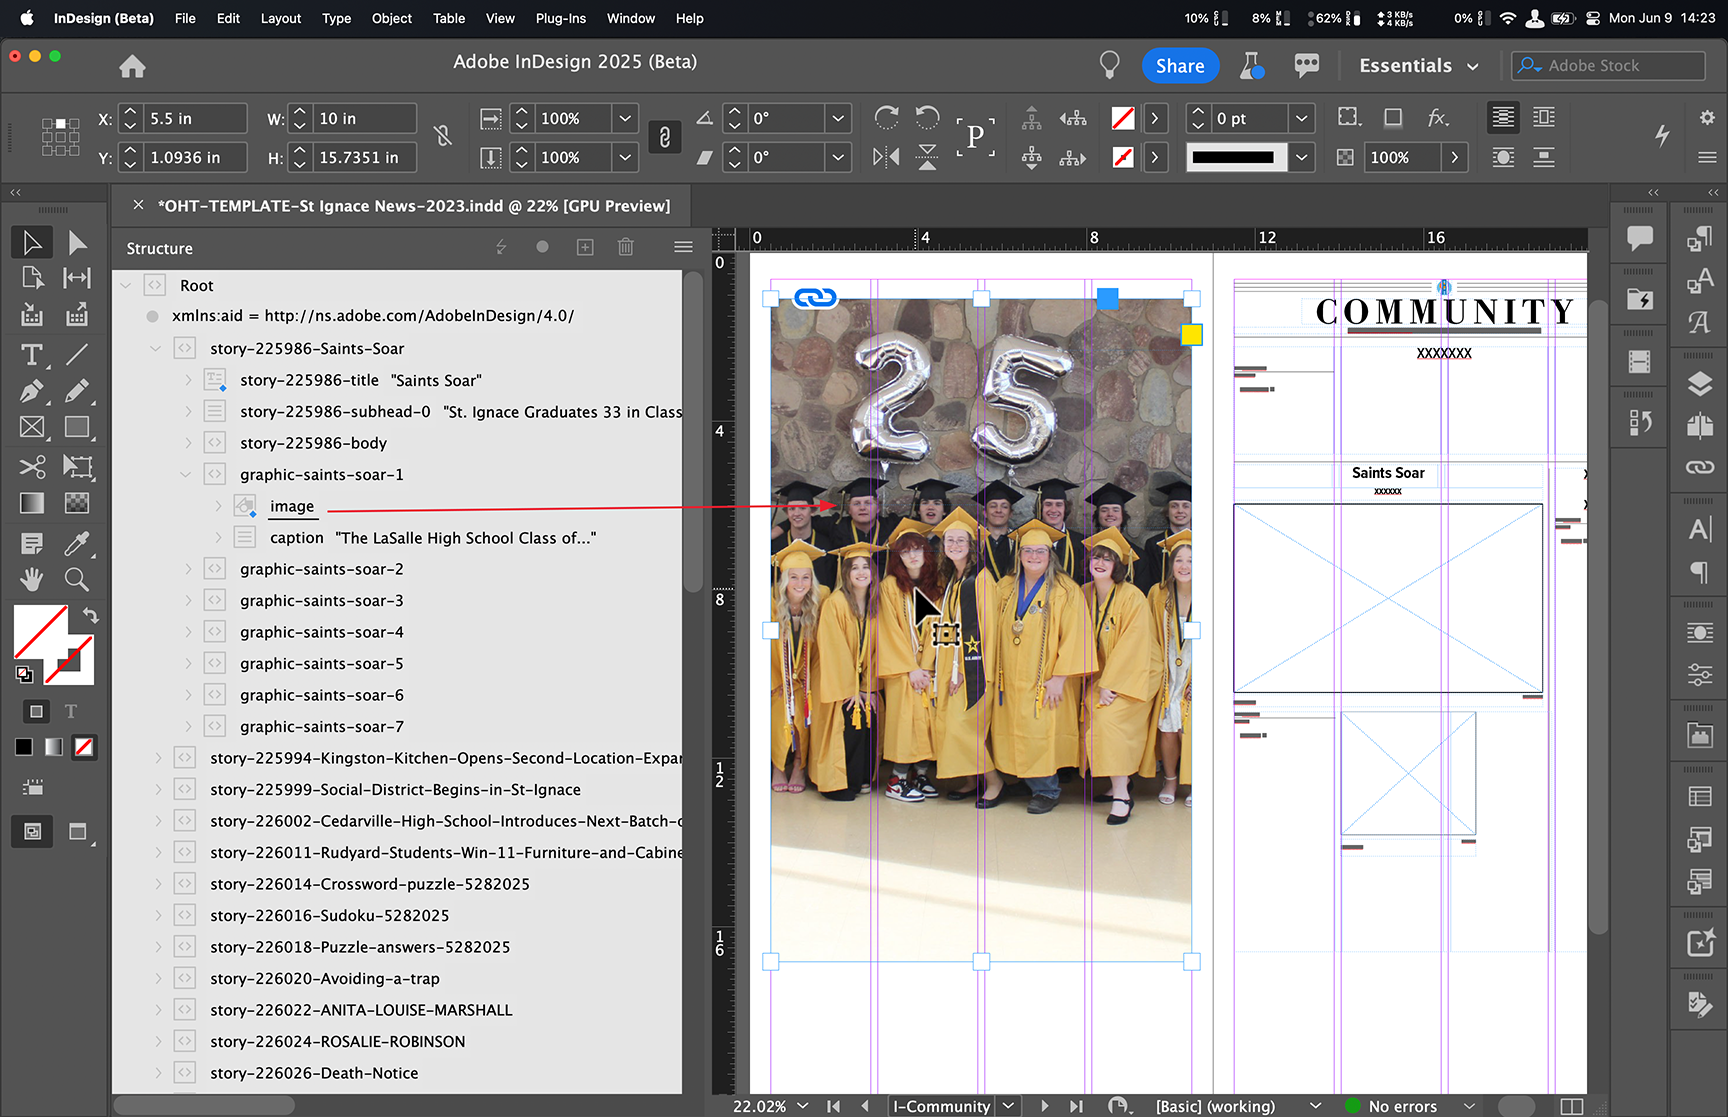
So what happens if you drag a container into the layout?
InDesign will insert all of the elements into a single frame while respecting the individual paragraph styles. The frame can then be adjusted to fit your layout. If Graphic elements are part of the container you are placing, InDesign imports the caption as a paragraph tag and includes the image as an anchored object attached to the caption. Additionally the image frame will be the same size as the resolution of the image as noted previously.
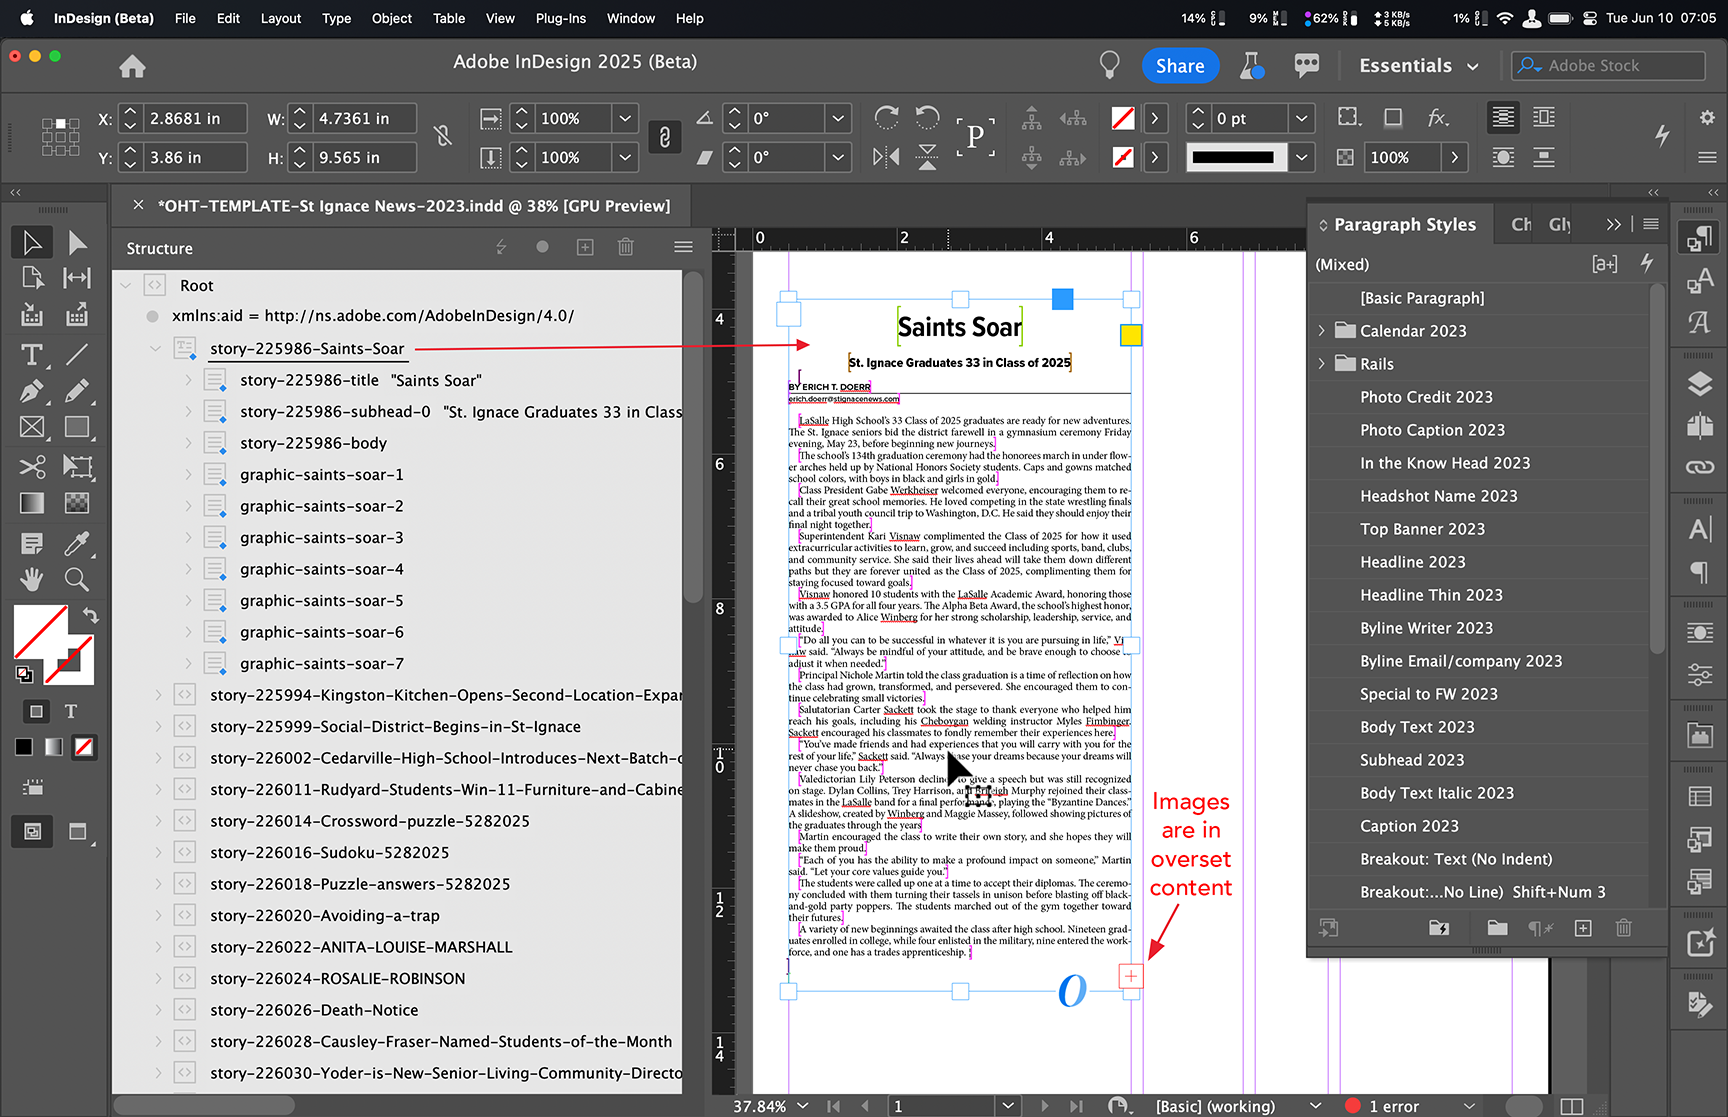
This often means that the images (which are included in the story container after the text elements) will not be displayed, but are hidden as they are part of the overset content that doesn’t not fit into the default frame size created when you drag a container into the layout.
Reassigning Elements
This brings us to another important point: Once an element has been placed, it cannot be ‘deleted’ per se, but it can be reassigned to another frame (or just dragged again into the layout).
This is very helpful if an image has been placed, but is hidden in overset limbo. You can drag those image/caption tags into new positions or move them to specific frames. This way you can drag the entire story element into the layout and then grab the images individually to place into frames with text wrapping, etc.
Importing XML Updates
A great feature of the Reverse Publishing plugin is that it keeps track of what has been exported, allowing you to only export content updated since the last export. You can also toggle off the image export, so that you can download just the updated XML content. Overwrite the previous XML file (by copying the new one to your existing archive folder with your images) and when you re-import the XML all the text content will update to reflect any changes to the story content.
We hope this post establishes the usefulness of a ‘digital-first’ strategy, allowing you to manage all your content on the website, and providing a straightforward pipeline for creating your print edition from that content.
If you have any questions or would like to try out Reverse Publishing, don’t hesitate to reach out to us at ops@our-hometown.com.

- ← Reverse Publishing: Setting Up Your First Export
- Block Editor Overview: More Text, Plus Grids and Groups on June 13th, 11AM EST →
Recent Comments