Make Awesome Animated GIFs with Photoshop
|
Click play to LISTEN to the article below
|
Welcome to a quick tutorial from Our-Hometown. We recently revamped the design of a customer newsletter page to include a Google map with pins representing the featured publishers in the region. The publisher wanted to include this map highlight in the email version of the newsletter, so we decided to create an animated GIF showcasing each publisher as a teaser to engage readers. Today, I’ll guide you through creating your own animated GIFs using Adobe Photoshop.
Gather your images!
Let’s start by assembling your source images. For our newsletter example, we’ll use a screen capture tool to create individual images of our interactive map, highlighting different publishers.
Depending on your computer, you can use built-in screenshot tools (Command-Shift-5 on Mac, the Snipping Tool on Windows), or your favorite screen capture software.
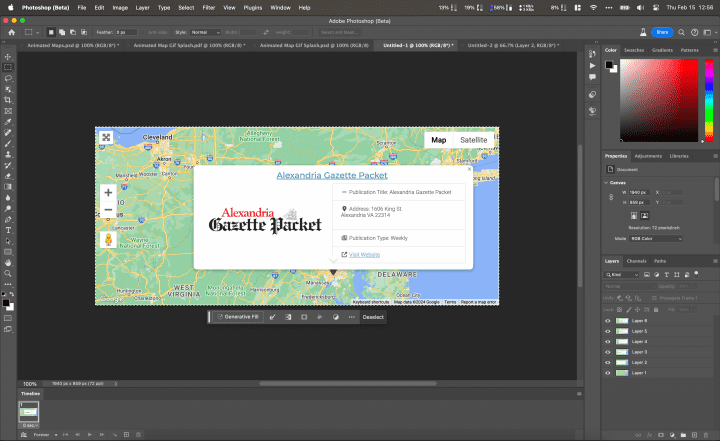
I this demo we will copy the screen capture to the clipboard and paste to a new layer in our Photoshop document.
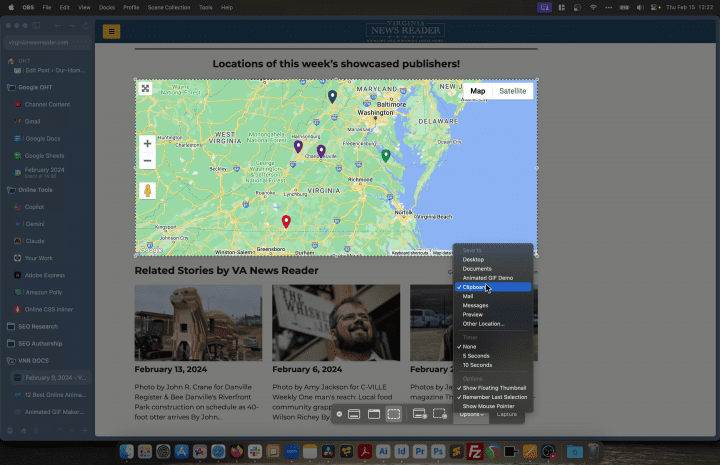
On the newsletter page with the highlight map, select the capture area option (and specify the clipboard as the destination).
If you are on Windows the capture options are similar using the Snipping Tool.
Type Enter or click the Capture button and the image will be copied to the clipboard.
Create an Image Stack
Now let’s open Photoshop and create a new document. For the size you can now choose the Clipboard options which will create a new document with the exact size of your screen capture.
Once you’ve created the empty document, simply paste the screen capture on the a new layer with CMD-V.
The process is the same for each subsequent capture. Go back to the site and activate the capture tool (on MacOS the selected area conveniently will be the same as you last capture. Continue capturing the map with the different publisher pop-ups, and pasting each onto a new layer in your Photoshop document until you’ve assembled all the needed images for the slideshow.
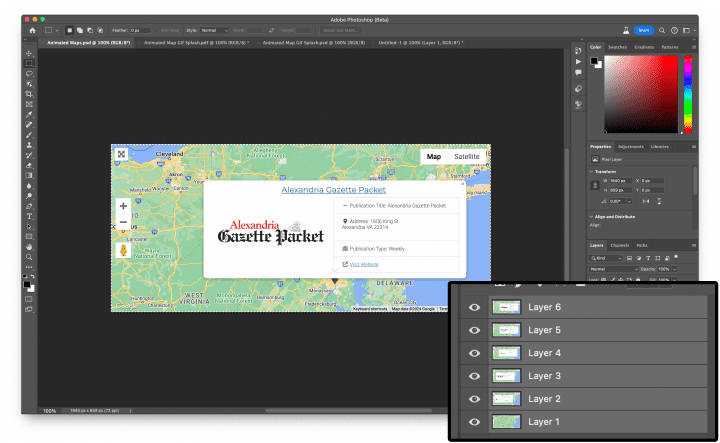
Now let’s animate!
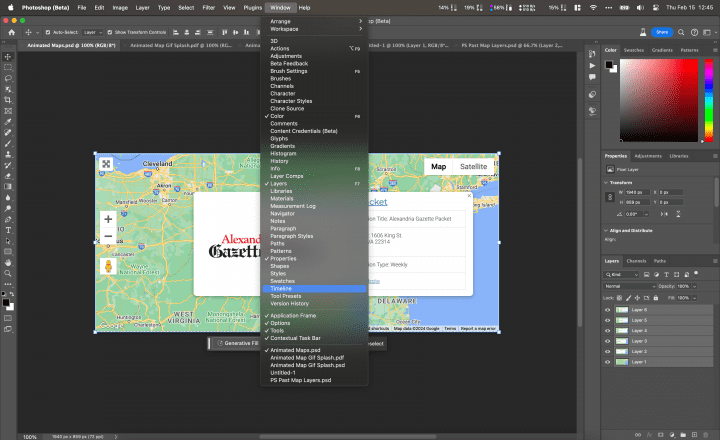
First we need to open the timeline, by going to the window menu, and selecting Timeline from the list.
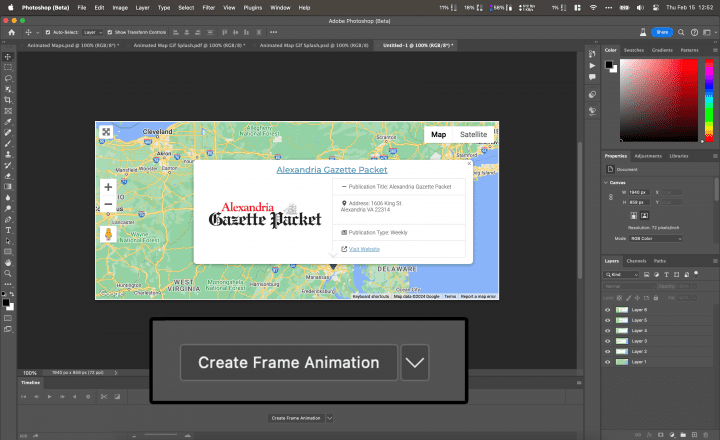
An empty timeline panel will open at the bottom of the interface. Click Create Frame Animation.
This will add a single frame to the timeline from the current visible layers.
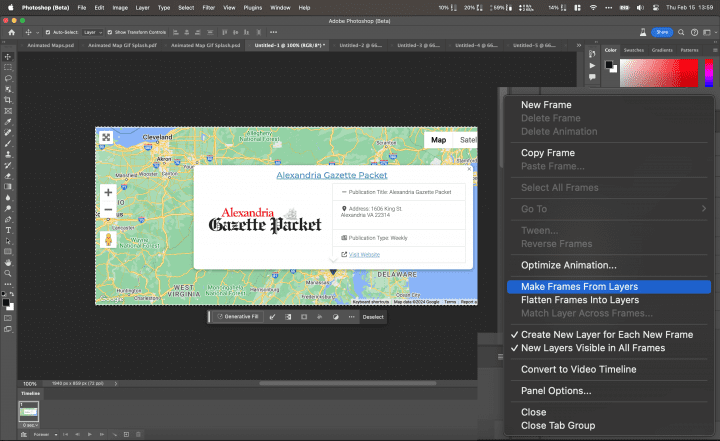
However to create a slideshow we want a single layer (for each map image) to appear on each frame. To do this, click the 3-line menu at the top right of the Timeline panel and select Make Frames from Layers.
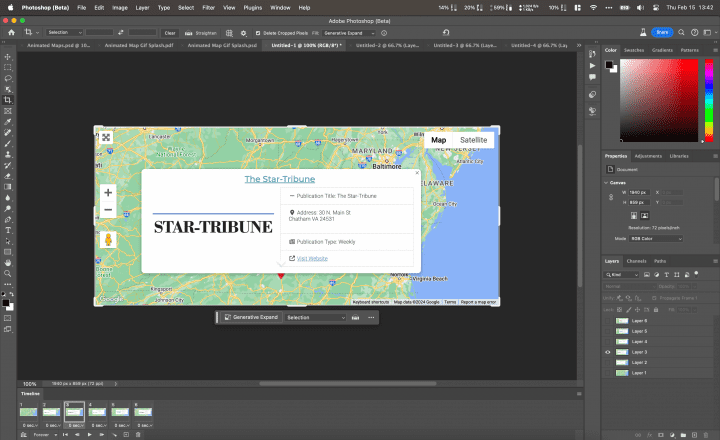
This will automatically create a new frame for each layer with all the other layers hidden. You can click on each frame in the Timeline panel to view its contents.
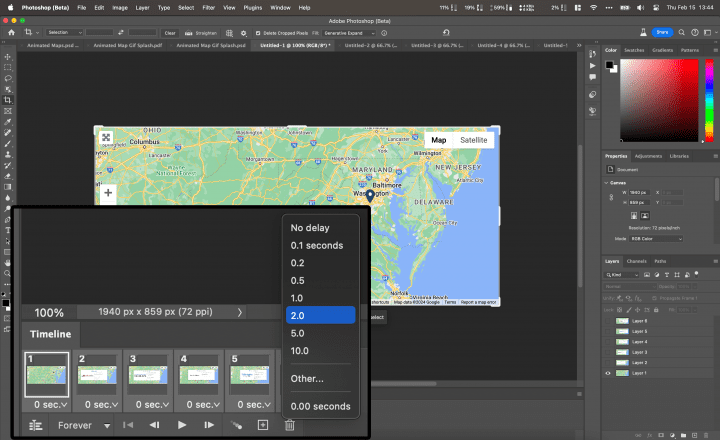
Finally we need to add some timing. At the bottom of each frame is a delay setting. You can set each of these individually or en masse by Shift-clicking the beginning and end frames, then selecting the desired delay time from the any of the frame dropdowns.
Below the frames are the playback controls. You can leave the loop setting at forever and click the Play button to preview the animation.
Time to share!
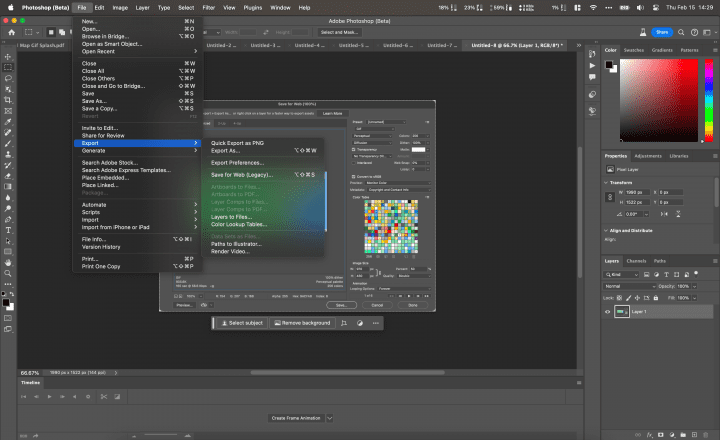
Now you are ready to export your animated GIF! From the File Menu go to Export and Save For Web (Legacy).
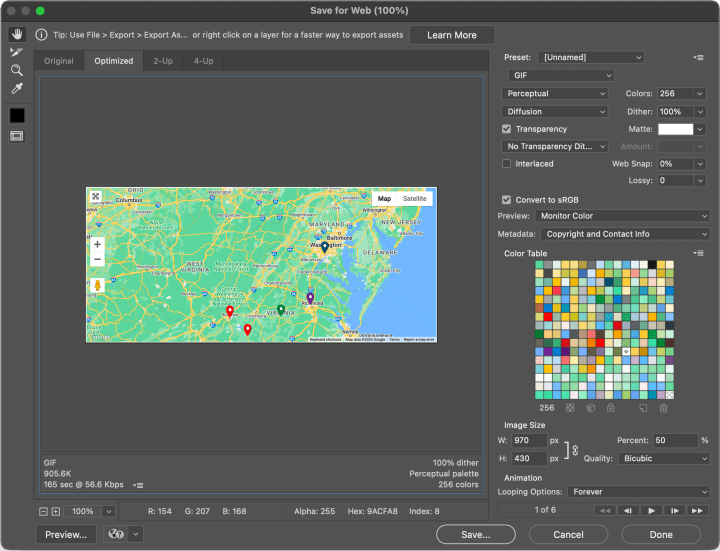
In the panel that appears, make sure you choose GIF from the file format and and any sizing options needed. You can see the estimated size of the final file at the bottom left of the preview window.
When you are satisfied with the settings, click Save. You now have an animated GIF that you can place anywhere you would like on your website or newsletter!


Recent Comments