Using Multiple Newsletters or Mailing Lists
Did you know that it is possible to use more than one mailing list within your newsletter plugin?
Usually, newsletter subscribers are always added to the default mailing list, but you can actually create several different mailing lists to target different segments of readers, and can even give the subscriber the option to choose which lists to subscribe to.
Building Your Lists
From the Newsletter plugin dashboard, hover over List Building and select Lists.
You’ll see all of your newsletter lists along with some settings for each, and the number of users subscribed to that list.
For all lists other than your default mailing list, be sure to set Pre-Checked to Yes but Pre-Assigned to No. Change the Visibility setting to “Even on subscription forms.”
You’ll notice that each list also has an ID # listed to the left. If you are using a Newsletter Widget for your signup form, then you won’t need this number. However, if you intend to create your own custom signup form for this list, you’ll need to have the list number handy.
Using the Newsletter Widget
 Adding the newsletter signup widget to your site is easy. Using the Customize tool, navigate to Widgets and the Widget Area that you wish to place the widget. Click Add a Widget and find the Newsletter Widget on the list.

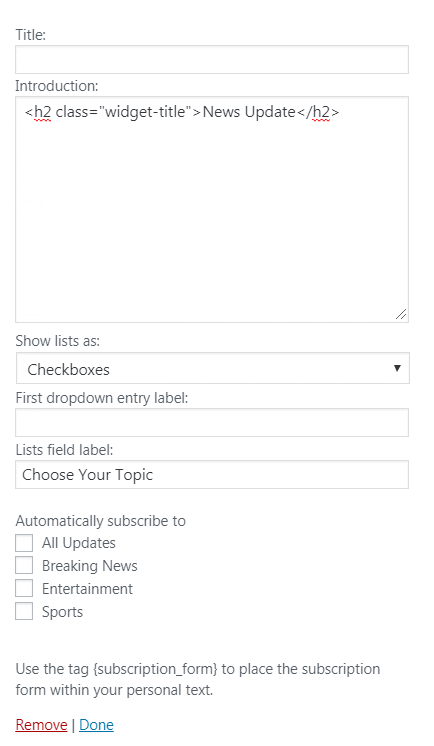
Fill out the Title and Introduction as needed. (In this example, the Title field is not used, as we apply a custom CSS class to an h2 tag as the widget title in the Introduction box).
You can display the lists as checkboxes (allowing users to select multiple) or a dropdown box (users can only select one).
Enter the “Lists field label” to display a message above the list selection, such as “Choose Your Topic” or “Choose Your Mailing List.”
Since the user is choosing which mailing list to subscribe to, you will not want to use the “Automatically subscribe to…” section.
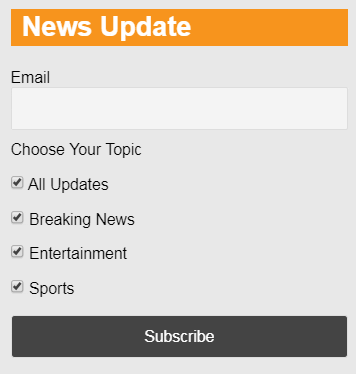
Your end result should look similar to the image to the right.
Creating a Custom Newsletter Signup Form
While the Newsletter Widget works for most purposes, it may be required that you create your own custom newsletter sign up form.
Note: At least some knowledge of HTML will be required to manually create a form.
Use a Custom HTML Widget to enter the code for your custom form.
- First you need to create the form using the following code:
[ newsletter_form button_label="Go!"list="2"] - Add input fields, such as name and email, using the following format:
[ newsletter_field name="first_name" label="Your Name"] - The E-mail field is required, of course:
[ newsletter_field name="email" label="Your Email"] - Add the choice of which Mailing List to subscribe to using this code:
[ newsletter_form lists_field_layout="checkbox" lists_field_label="Our Topics" lists_field_empty_label="Our Topics"] - You must close your newsletter form using the following:
[ /newsletter_form]
Your full code should look like this:
(Please remove the first space after the ‘[‘ on each line)
[ newsletter_form button_label="Go!"list="2"]
[ newsletter_field name="first_name" label="Your Name"]
[ newsletter_field name="email" label="Your Email"]
[ newsletter_form lists_field_layout="checkbox" lists_field_label="Our Topics" lists_field_empty_label="Our Topics"]
[ /newsletter_form]
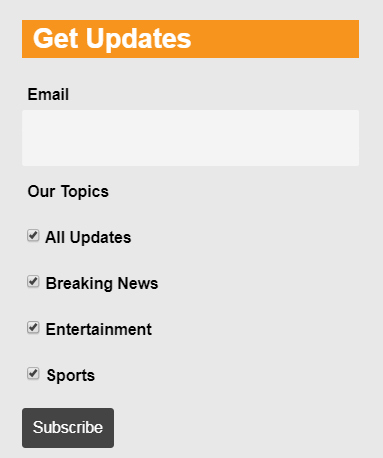
It will display a signup box like the following:
- ← Exporting Classified Ads with Reverse Publishing
- Including Article Category in the URL for Improved SEO →


Recent Comments