Step 1.
First, log in to your website by clicking the "Login" button at the top of your newspaper's homepage.
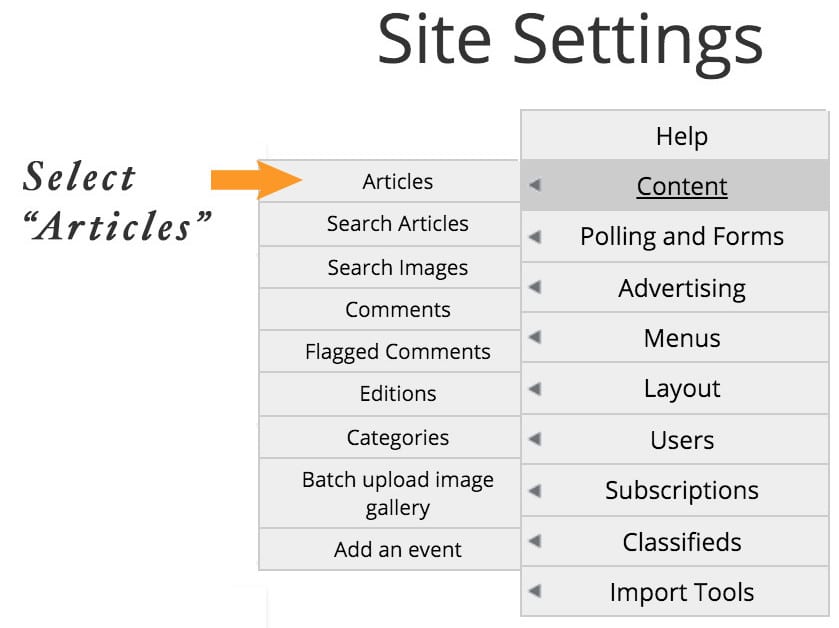
A "Site Settings" menu will appear.
Under "Content" in the Site Settings menu, click on the "Articles" button.
Step 2.
We'll focus on adding an image to a new story. If you want to add an image to an already existing story, click "edit" & follow the same instructions (minus having to save the story before adding the picture).
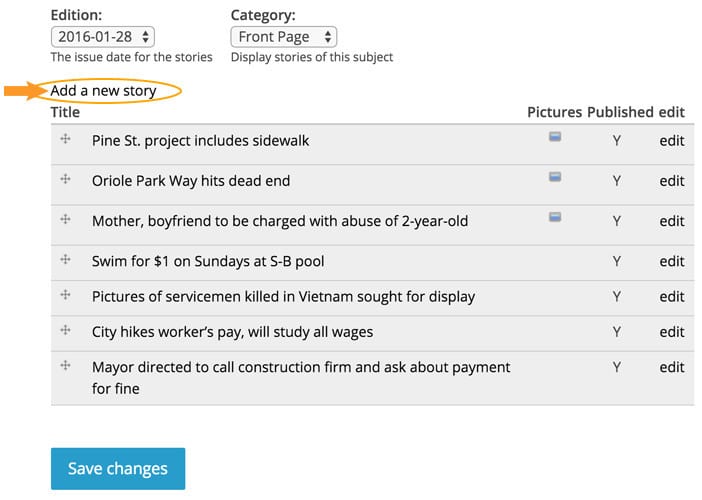
Click "Add a new story".
You can also select "Add a new story" from the front page or any category page.
Step 3.
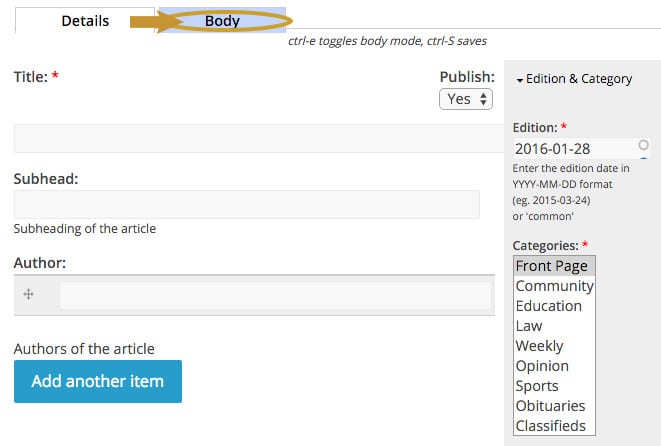
Fill in your article's details, edition, & category.
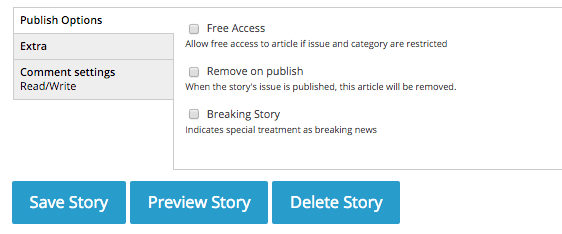
If you want to publish immediately, select "yes" in the "Publish" dropdown. If you want to save to publish later, select "no".
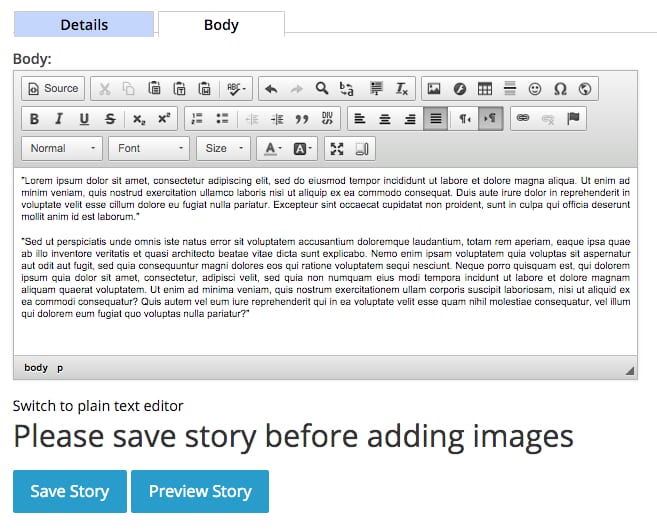
Then click over to the "Body" tab.
Step 4.
After adding your story content, click "Save Story" so you can add images.
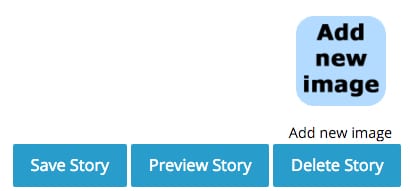
Once you click "Save Story", the "Add Photo" option will become visible.
Step 5.
To add an image to add, click "Add New Image"
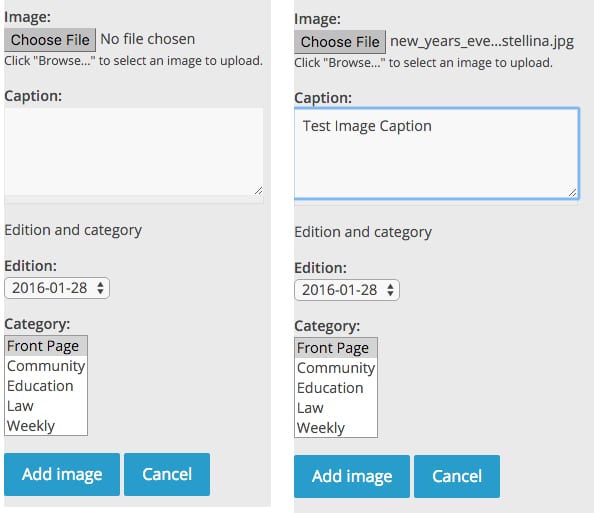
Select the image you'd like to use by clicking "Choose File" & finding the folder on your computer, and double-clicking it.
Add a caption for the image, if you have one.
Select the Edition & Category.
Click "Add Image".
There may be a slight delay as the image uploads.
Once you are returned to the "body" tab, you'll see the image available to use in your article.
Step 6.
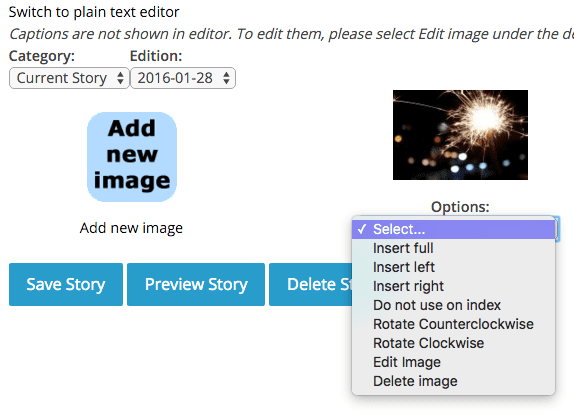
Your uploaded image will now show as available to use.
A dropdown menu is underneath it.
From there, you can select where you want to insert the image into your article.
You can also choose to rotate, edit, or delete the image from this dropdown.
Select to insert the image left, right or full, into you article.
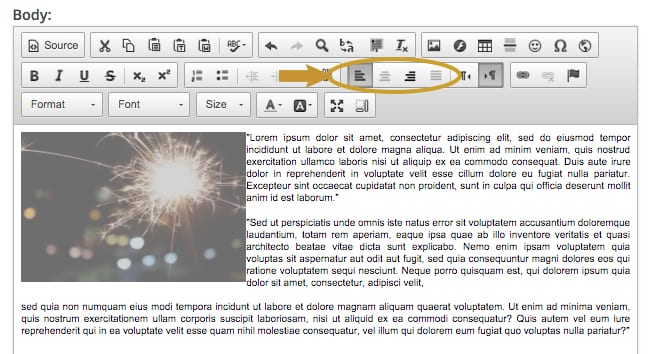
Step 7.
Once you select where you want your image in your story, it will appear in the body editor above.
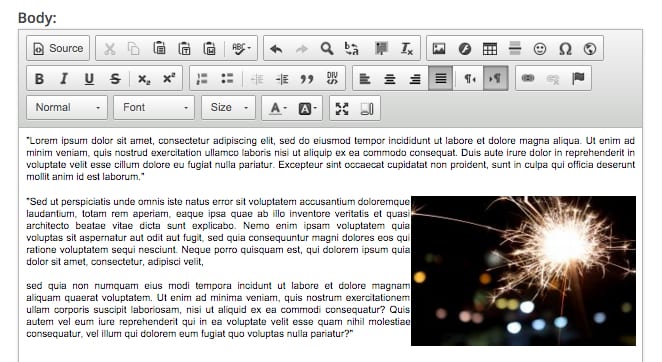
If you want to move the story to the left or right side, you can click the image & then click the alignment options above.
If you want to move the image up or down within the text, simply click the image & drag it where you want it to be.
This picture will be shown on the front page & category pages with your story's teaser.
Once you have your image set, click back to the "details" tab.
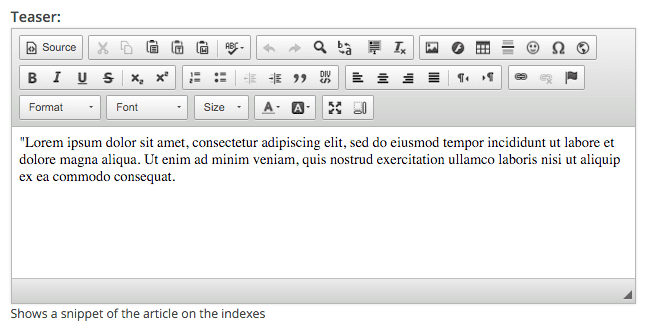
Step 8. (Optional)
You can edit your story teaser in this tab. Your image will not show in this box, only in the "body" tab's editor. But don't worry, it will be part of your published story, as well as show as part of the teaser on category pages & the front page (depending on your site styling).
Step 9.
Click "Save Story".
If you set "Publish" to "yes", the story will go live. If it is set to "no" your article will be saved under "Articles".